Showing posts with label joyful. Show all posts

Tuesday, 12 October 2021

Christmas Post

Hi Friends!

Just a quick post today sharing my DT piece for the Inspiration Post over on the STAMPlorations blog ...


Just a little fun card for you today with a bit of stamping and watercolouring. The sleigh was fuzzy cut and popped upon 3D foam.


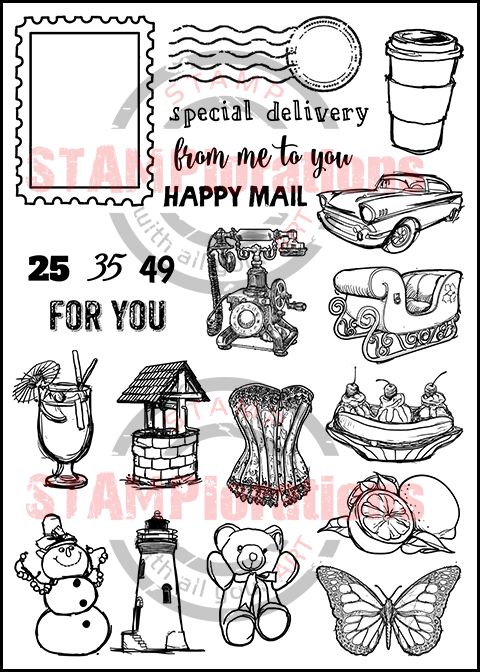
Here are the STAMPlorations products I used in today's card:


Should you feel like browsing STAMPlorations' shop, check out their latest offer below.


I've got to be honest, if you use the code and/or the link to the STAMPlorations Shop I provide in my posts for your purchases, I will get a little reward, at no extra cost to you of course.

That's it from me for today. Pop over to the STAMPlorations Blog to check out my teamies' beautiful makes.

I shall be back with more Christmas makes tomorrow. Until then ... have a lovely day!

hugs
Monika ❤

Tuesday, 5 October 2021

On A Roll

Hi Friends!

Just a quick post today sharing my DT piece for the Inspiration Post over on the STAMPlorations blog ...


I've gone for a super skinny slimline again. Just loving making these at the moment. As you can tell, I also caught the Making Christmas Cards bug.

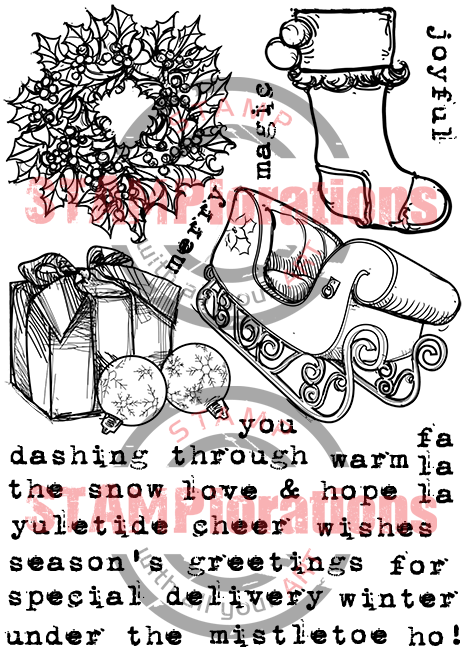
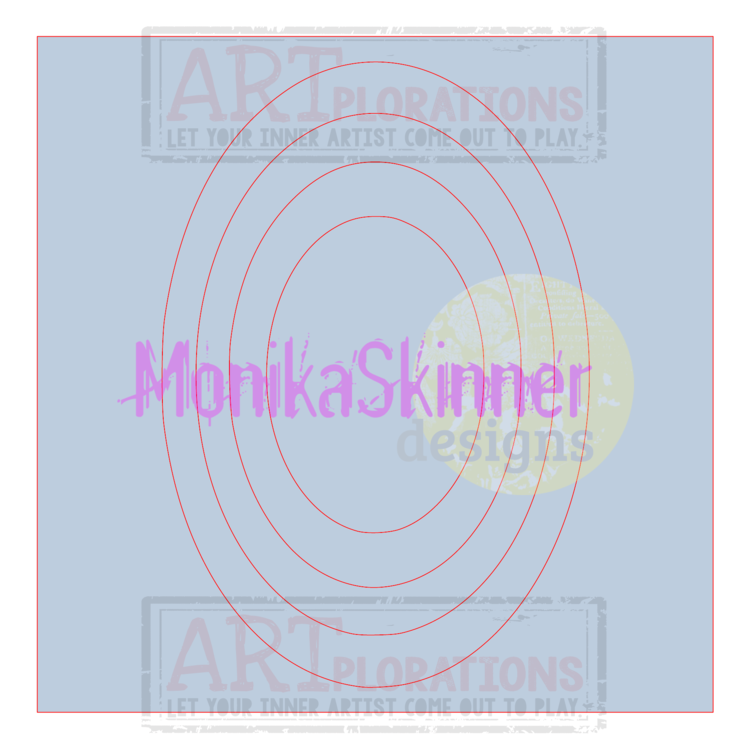
Feeling nostalgic I dug out my Joyful set, heat embossed the stocking in gold, watercoloured and fuzzy cut it. I used the smallest oval from the Ovals Flexi-Template to sponge my background and used some of the words from the set for background stamping.

My card was finished off with a touch of glitter glue and a handmade envelope.


Here are the STAMPlorations products I used in today's card:


Should you feel like browsing STAMPlorations' shop, check out their latest offer below.


I've got to be honest, if you use the code and/or the link to the STAMPlorations Shop I provide in my posts for your purchases, I will get a little reward, at no extra cost to you of course.

That's it from me for today. Pop over to the STAMPlorations Blog to check out my teamies' beautiful makes.

I shall be back with more Christmas makes tomorrow on my Instagram account @tinkercards. Until then ... have a lovely day!

hugs
Monika ❤

Wednesday, 14 April 2021

Christmas In The Air

Hi Crafty Friends!

Well, you might be looking forward to summer, but it's also the best time to get a head start on making your Christmas card stash. If one wants to get organised that is. 😁

Today I'm sharing a few projects made for April's Christmas In The Air feature over at STAMPlorations. In this special feature Nancy and I are taking turns sharing a few Christmas projects each.


This month it's my turn to put STAMPlorations Christmas In The Air Kit #1 through it's paces the full content of which will be shown at the end of this post. It's going to be picture heavy as I got a whopping 9 cards to share.


Let's start with the Christmas Trees stencil from the kit.


For my first card, I blended Moved Lawn and Peeled Paint DI's and Aurore and Brou De Noix Izink inks through the row of Christmas trees to create the backdrop for the campervan from the Christmas Ephemera #1 pack. I finished off with a stamped sentiment from the Christmas Joy set contained in the kit.


For my second card I simply embossed the trees with Snowflake embossing powder and the sentiment with silver embossing powder. A few white splatters were added to finish.


Next up are a couple of cards featuring the candle from the Christmas Joy set in combination with the corresponding laser cut shapes from the kit. I used watercolour pencils with a lightly damp brush to colour my candles.


The background was created using the Ovals Flexi-Template with ombre shades of yellow DIs similar to how I used them in this post here for the fairy card just in reverse order. I started with the largest oval and the lightest yellow adding the smaller ovals with each darker colour. Once finished I used the Ovals as mask and stamped the floral stamp from the Christmas Joy set with Rustic Wilderness DI before adding the doodled border.

It didn't matter that the image didn't stamp fully in places, it adds to the rustic charm of my card. If you want it to stamp fully, make sure to use a stamping mat underneath your card and firmly press the stamp down especially around the Ovals Flexi-Template mask.


My next card uses a pearlised base card embossed with the Dots All Over Stencil. I simply added my candle and a sticker sentiment before finishing off with a touch of glitter.


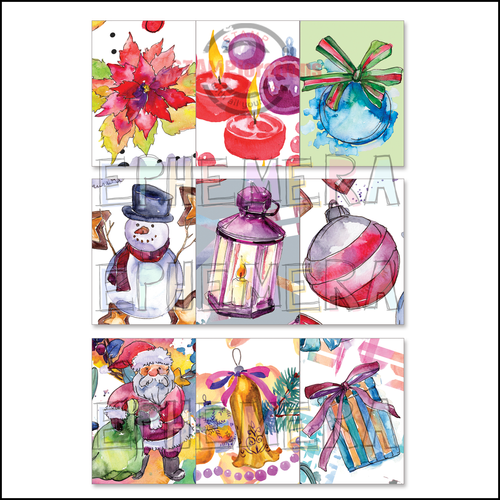
My next set of cards uses some of the Christmas ATCs from the kit.


I had this festive background using the Joyful set which was stamped directly on a base card. It had been too fain for what it was originally intended for yet it was perfect to go with the lantern ATC.


I simply assembled my elements and finished off with sequins and a touch of glitter.


The bauble card a sort of made itself.The ATC was matted on a piece of sparkling silver card and attacked to my base card. A big bow and sticker sentiment finished my card off beautifully.


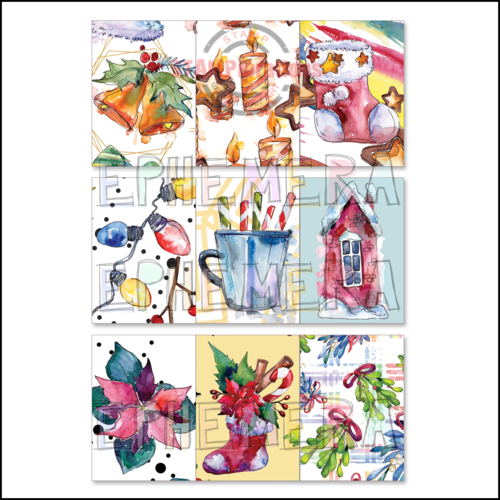
My next set of cards uses the Coffee Cups Colorables in combination with Christmas Ephemera #1 shapes and sticker sentiments. Instead of colouring the cups I used them as mats for the Ephemera shapes after having added some red and golden splatters. The base cards were embossed with the Holiday Words Mask.


The first card of the set uses the nutcracker and was finished off with gems, glitter and a couple of rounded corners.


The second one uses the bauble and was finished off with a large bow, sequin and sentiment down the side.


The third card features one of the Christmas Trees and was finished off with sequins.


This is how I've used the kit so far and I haven't even scratched the surface. There are still plenty more cards and festive makes left in the Christmas In The Air Kit #1. I shall be back in June with another array of festive makes.

Here are my affiliate link to all the products used from the STAMPlorations Store:


***********


Should you find yourself placing an order, feel free to use my personal discount code STAMPGIRLMONIKA at checkout for a 20% discount on your order. Please note that my discount code can not be combined with any other coupon code, but you can use it as often as you wish. I've got to be honest, if you use the code and/or the link to the STAMPlorations Shop I provide in my posts for your purchases, I will get a little reward.


I hope you feel inspired to start adding some projects to your Christmas stash.

hugs
Monika ❤

Wednesday, 11 December 2019

Round In Circles

Hello Craft Friends!

Have you seen the new additions to STAMPlorations' Digital Store? They got some really cute new printables suitable for easy and quick last minute Christmas makes. I've put some of them through their paces.

Here are my makes using the Black & White Christmas 1 inch circles and Nativity Tags/Labels/Journaling Spots ...


I really love the cute little circles from the B&W Christmas set. There are 30 of them on one A4 page. I grabbed a 1-inch circle punch and off I went ...

First up are a few last minute tree decorations for which I used gold mirri card, black pearls, glossy accents, gems, golden bells and wire. Twine would do too, but I didn't have any fine gold one in my stash. The colours were chosen to fit with our Christmas Tree colour scheme of black artificial tree (a real tree, as much as I love them, is far too big for our small lounge) with red and golden decorations.

The decorations are two sided and layered sandwiching the wire between layers.


Next up is a Christmas card using 3 of the circles in combination with the Merry Christmas Word Art Die and a little help from the Art Marks stamp set. I arranged them in a Christmas Tree shape and finished off with a confetti star and sequins.


Whilst making the first card, I had one of those 'I wonder, if' moments which led to making my second card. I used the grungy circles from the Art Marks set to stamp out my tree shape. The large ones were used to frame the images and the small ones filled in the gaps. I added some more stamped colour using one of the splatter stamps from the same set and a little pencil colouring to my images using my metallic pencils. To finish, I stamped my sentiment and added a few embellishments.


Next up is a card and envelope combination giving you a couple of ideas on how to use the Nativity Tags/Labels/Journaling Spots.

The envelope features a collage stamped background using the Joyful set with stars from Art Marks. I simply doodled a grungy border for my label to finish.


The card has a stencilled background and a bit of background stamping. The label was layered on matching red card. To finish, I added the fuzzy cut nativity scene, a few gems and a sentiment from the Kathryn & Christmas set.


As you can see, this card/envelope combination is for my friend Dianne. Dianne has been busy knitting herself a little nativity scene this year. Her work looks rather similar to the one from the label.

I shall leave you with a few close-ups.


That's it from me for today. Hope, you feel inspired to get some last minute Christmas crafting done. I am sure you can think of may more uses for these cute new printables.

Looking forward to seeing your makes. Have a lovely day!

hugs
Monika xxx


here is what I used from the ...

STAMPlorations Digital Store
Black & White Christmas 1 inch circlesNativity Tags, Labels, Journaling Spots
 

STAMPlorations Shop
JoyfulArt MarksKathryn & ChristmasJoy
stmp1075.jpeg preview-SheryRuss_ArtMarks1 preview-KathrynandChristmas preview-Joy

Merry Christmas Word Art DieOh, My Stars! Mini Stencil
preview-merrychristmasdie preview-web-stencil-oh-my-stars-mini