
to my new 'Step by Step Tutorials' blog.
The first project, I would like to share with you, is one I made when on holiday at the caravan recently. It was one for the Out of a Hat Creations challenge blog, where the theme was 'Stars and Stripes'.
I managed to grab a bag full of bits before leaving. Naturally I didn't even use half of it, especially as the weather was so nice that I had little time for crafting...LOL
Stars and Stripes normally means something with an American Theme. There was nothing in my bag to do that, so I had to think a bit out of the box. There were stars I could emboss using my Ultimate Pro, and I could do stripes by blending inks. All I needed was something to mask off a straight line or two.
From my bits, this is what I used:

Ultimate Pro by Crafter's Companion and embossing tool
Sentiment Stamps by Wild Rose Studio
Black fine liner pen
acrylic block and stamping mat
sanding block ('fine' is best)
three matching colour inks I used More Mustard, Not Quite Navy and Ruby Red by Stampin'Up!
white large square card blank
baby wipes, one dry one for blending colours
something you can use as a mask for straight lines, I used an old TV magazine

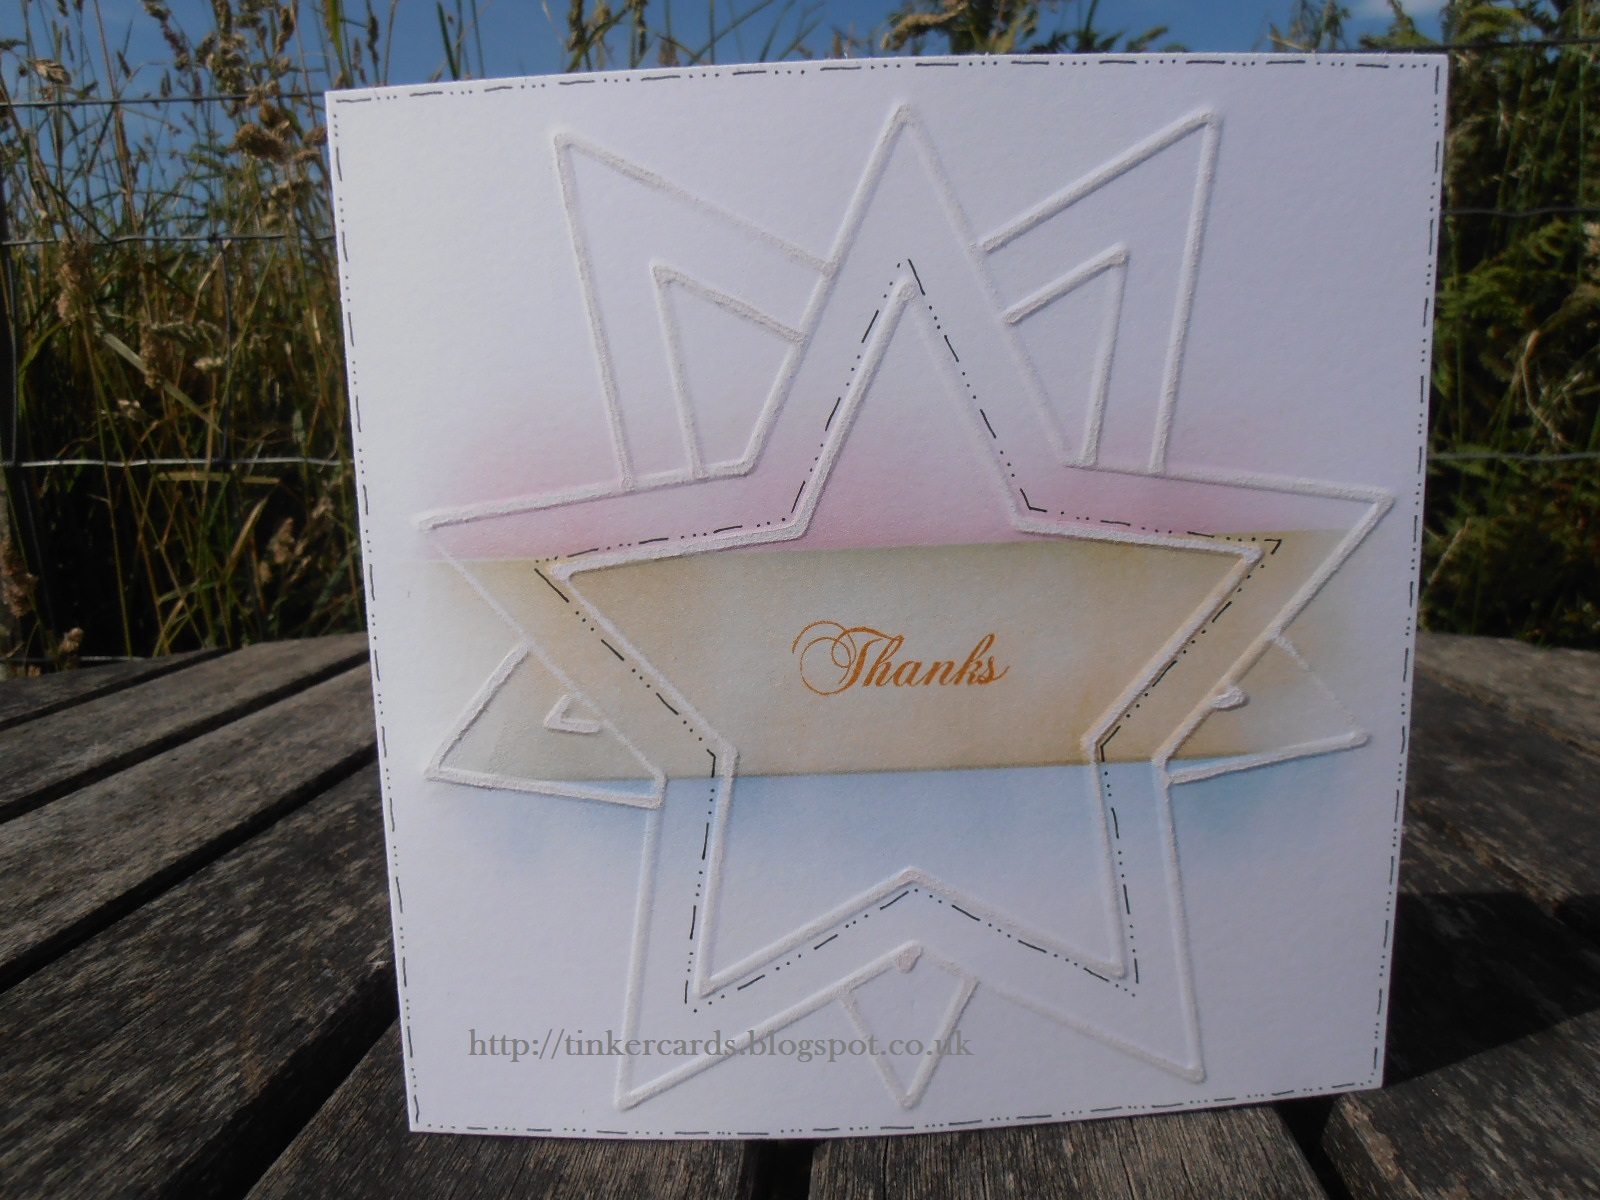
Using a page from the TVmag I covered a bit more than half of my card front, picked up some red ink with my dried baby wipe and blended the red ink over the edge of the magazine page onto my base card making sure I was not going all the way along. Then I turned my card front around, covered again a bit more than half and blended some blue over the edge. that way I ended up with a white strip in the middle.
If you are using some wide masking tape, you need to position your tape where you want your white strip to be.
NOTE! If you haven't done this type of blending before, your crisp/straight edge will appear where your mask meets your card. It will be visible once you remove your mask. I also find it easier to use a dried baby wipe and pick up a little ink at the time for subtle blending. I would then dab my wipe slightly on the mask and using circular movements work the ink from my mask onto the card.

For the next step align the edges of your mask with the straight blue line covering the 'blue side' of your card and blend some mustard ink into your white strip taking care not to blend into the red area. Repeat on the red side.

For the next step open up your Ultimate Pro and place the front of your card coloured side down over the star making sure that it is centred. Using your embossing tool find your embossing line and emboss both the larger and the smaller star before rotating your card by 180 degrees (top to bottom) and embossing both stars again. This time make sure you only emboss the tips until you meet the outer of your already embossed stars.
Tip! You can find your line by lightly moving your embossing tool over the card. That way you can feel the gap of the embossing line underneath your card.
Next use your sanding block and lightly move it over the embossed stars. this roughens the outline and makes the stars more visible.
Stamp your chosen sentiment into the centre using mustard ink and finish off with some dashed lines or faux stitching, as shown in the card, using your fine liner pen.

Enjoy!!!
Tip! If you don't have the Ultimate Pro, try using some smaller embossing stencils placed randomly over your card front.
See you soon ... until then...
Happy Crafting!!!
Monika