Showing posts with label christmas in the air kit 1. Show all posts

Wednesday, 11 August 2021

August Christmas In The Air

Hi Crafty Friends!

Well, how is your Christmas card making going? I am back with another helping of projects for August's Christmas In The Air feature over at STAMPlorations. In this special feature Nancy and I are taking turns sharing a few Christmas projects each.


This month it's my turn to put STAMPlorations Christmas In The Air Kit #1 through it's paces the full content of which will be shown at the end of this post. It's going to be picture heavy as I got a whopping 9 cards to share, one's of the super skinny variety.


Originally I had thought, I'd make something else, coasters, baubles etc, but then I had so much fun making skinny cards ...

All cards have been cut from cream Sakura pearlised card to be 7 cm (2 3/4 inches) wide and 21 cm (8 1/4 inches) tall when folded.

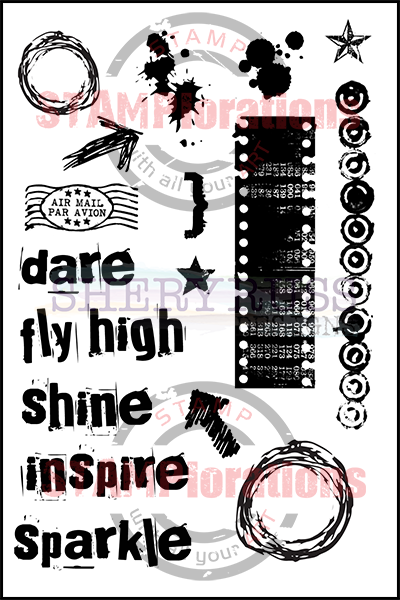
Let's have a look at the first trio using the stamp set from the kit.


Sentiments can sometimes be a little bit under used, well as sentiments only. Yet the Christmas Joy stamp set from the kit has so many lovely fonts for the sentiments that I decided to make them the star of my first card.


For this one-layer card, I started off by placing the words/sentiments I wanted to use on the base card and arranged them in a way that they would fit together nicely. I then picked them up with a largish acrylic block and removed the ones I wanted to stamp in colour. 
For the stamping I started at the top of my card with the 'Joyeux Noel' sentiment in Crimson Red Versafine ink. Next I stamped the words 'merry', 'happy' and 'Christmas' which had been left on the larger acrylic block in black Versafine. The word 'joy' was stamped in Spanish Moss Versafine. I then continued stamping down the card mixing the colours up a bit and using Olympia Green Versafine as my darker green.


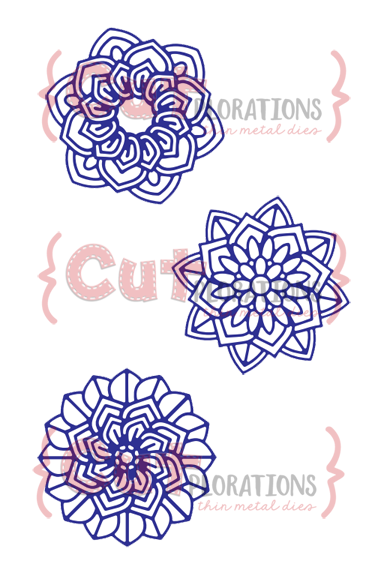
My next card uses the floral stamp in combination with the matching laser cut shape from the kit. I was simply stamped and watercoloured using watercolour pencils and a lightly damp brush to activate the pigments.
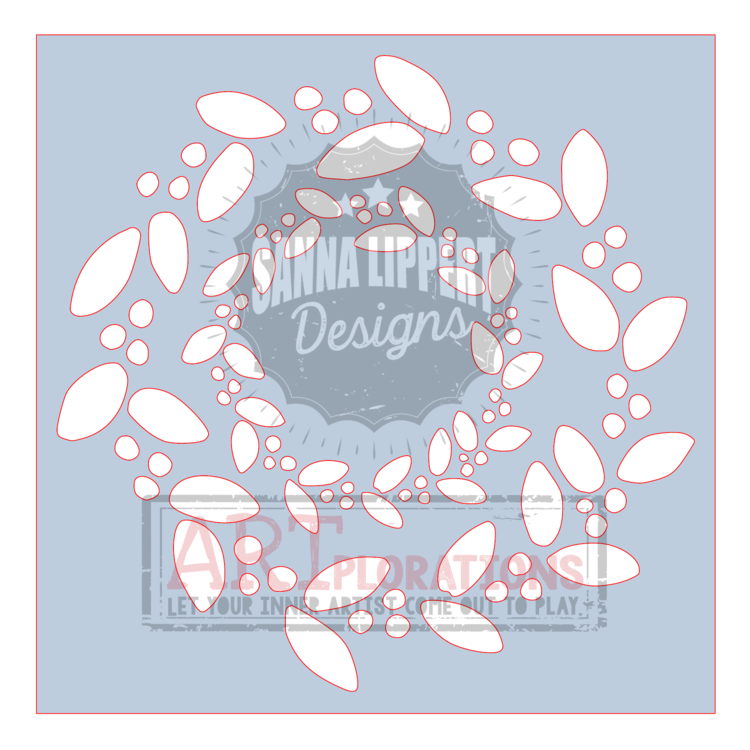
I added some stencilled detail using Christmas Wreaths square stencil and Emeraude Izink ink. My sentiment was stamped using London Fog Memento and Spanish Moss Versafine ink. The card was finished off with a few gems.


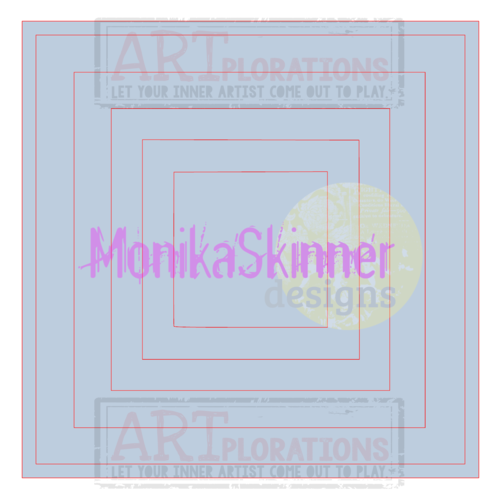
My next card uses the candle with the matching laser cut shape. Again I decided to use my watercolour pencils and Emeraude Izink ink as my background colour. The simple rectangle was sponged using the Rectangles Flexi-Template. The sentiment was stamped using the same colours as in my second card.


Here are some close-ups for you to enjoy ...


... before going on to my second trio ...

***************

... a trio of long super skinny cards using the stamp set and stencil from the kit.


Changing the aspect can change the look as you can see from my first card. Using the same supplies and idea from my first card, the words have been arranged slightly differently to suit the landscape format.


My next card is another one-layer make using the Christmas Trees from the Holiday Trees stencil contained in the kit. They wee sponged using Emeraude and Miel Izink inks. I used a little brush for sponging and was able to dab the ink a little to add some texture to the trees. The sentiment was stamped in Spanish Moss Versafine ink.


The last card of my second trio is a little bit more fancy. I used three of my watercoloured flowers on script stamped background in Spanish Moss. My card was finished off with a stamped sentiment in Olympus Green and gems.


Here are some close-ups.


***************

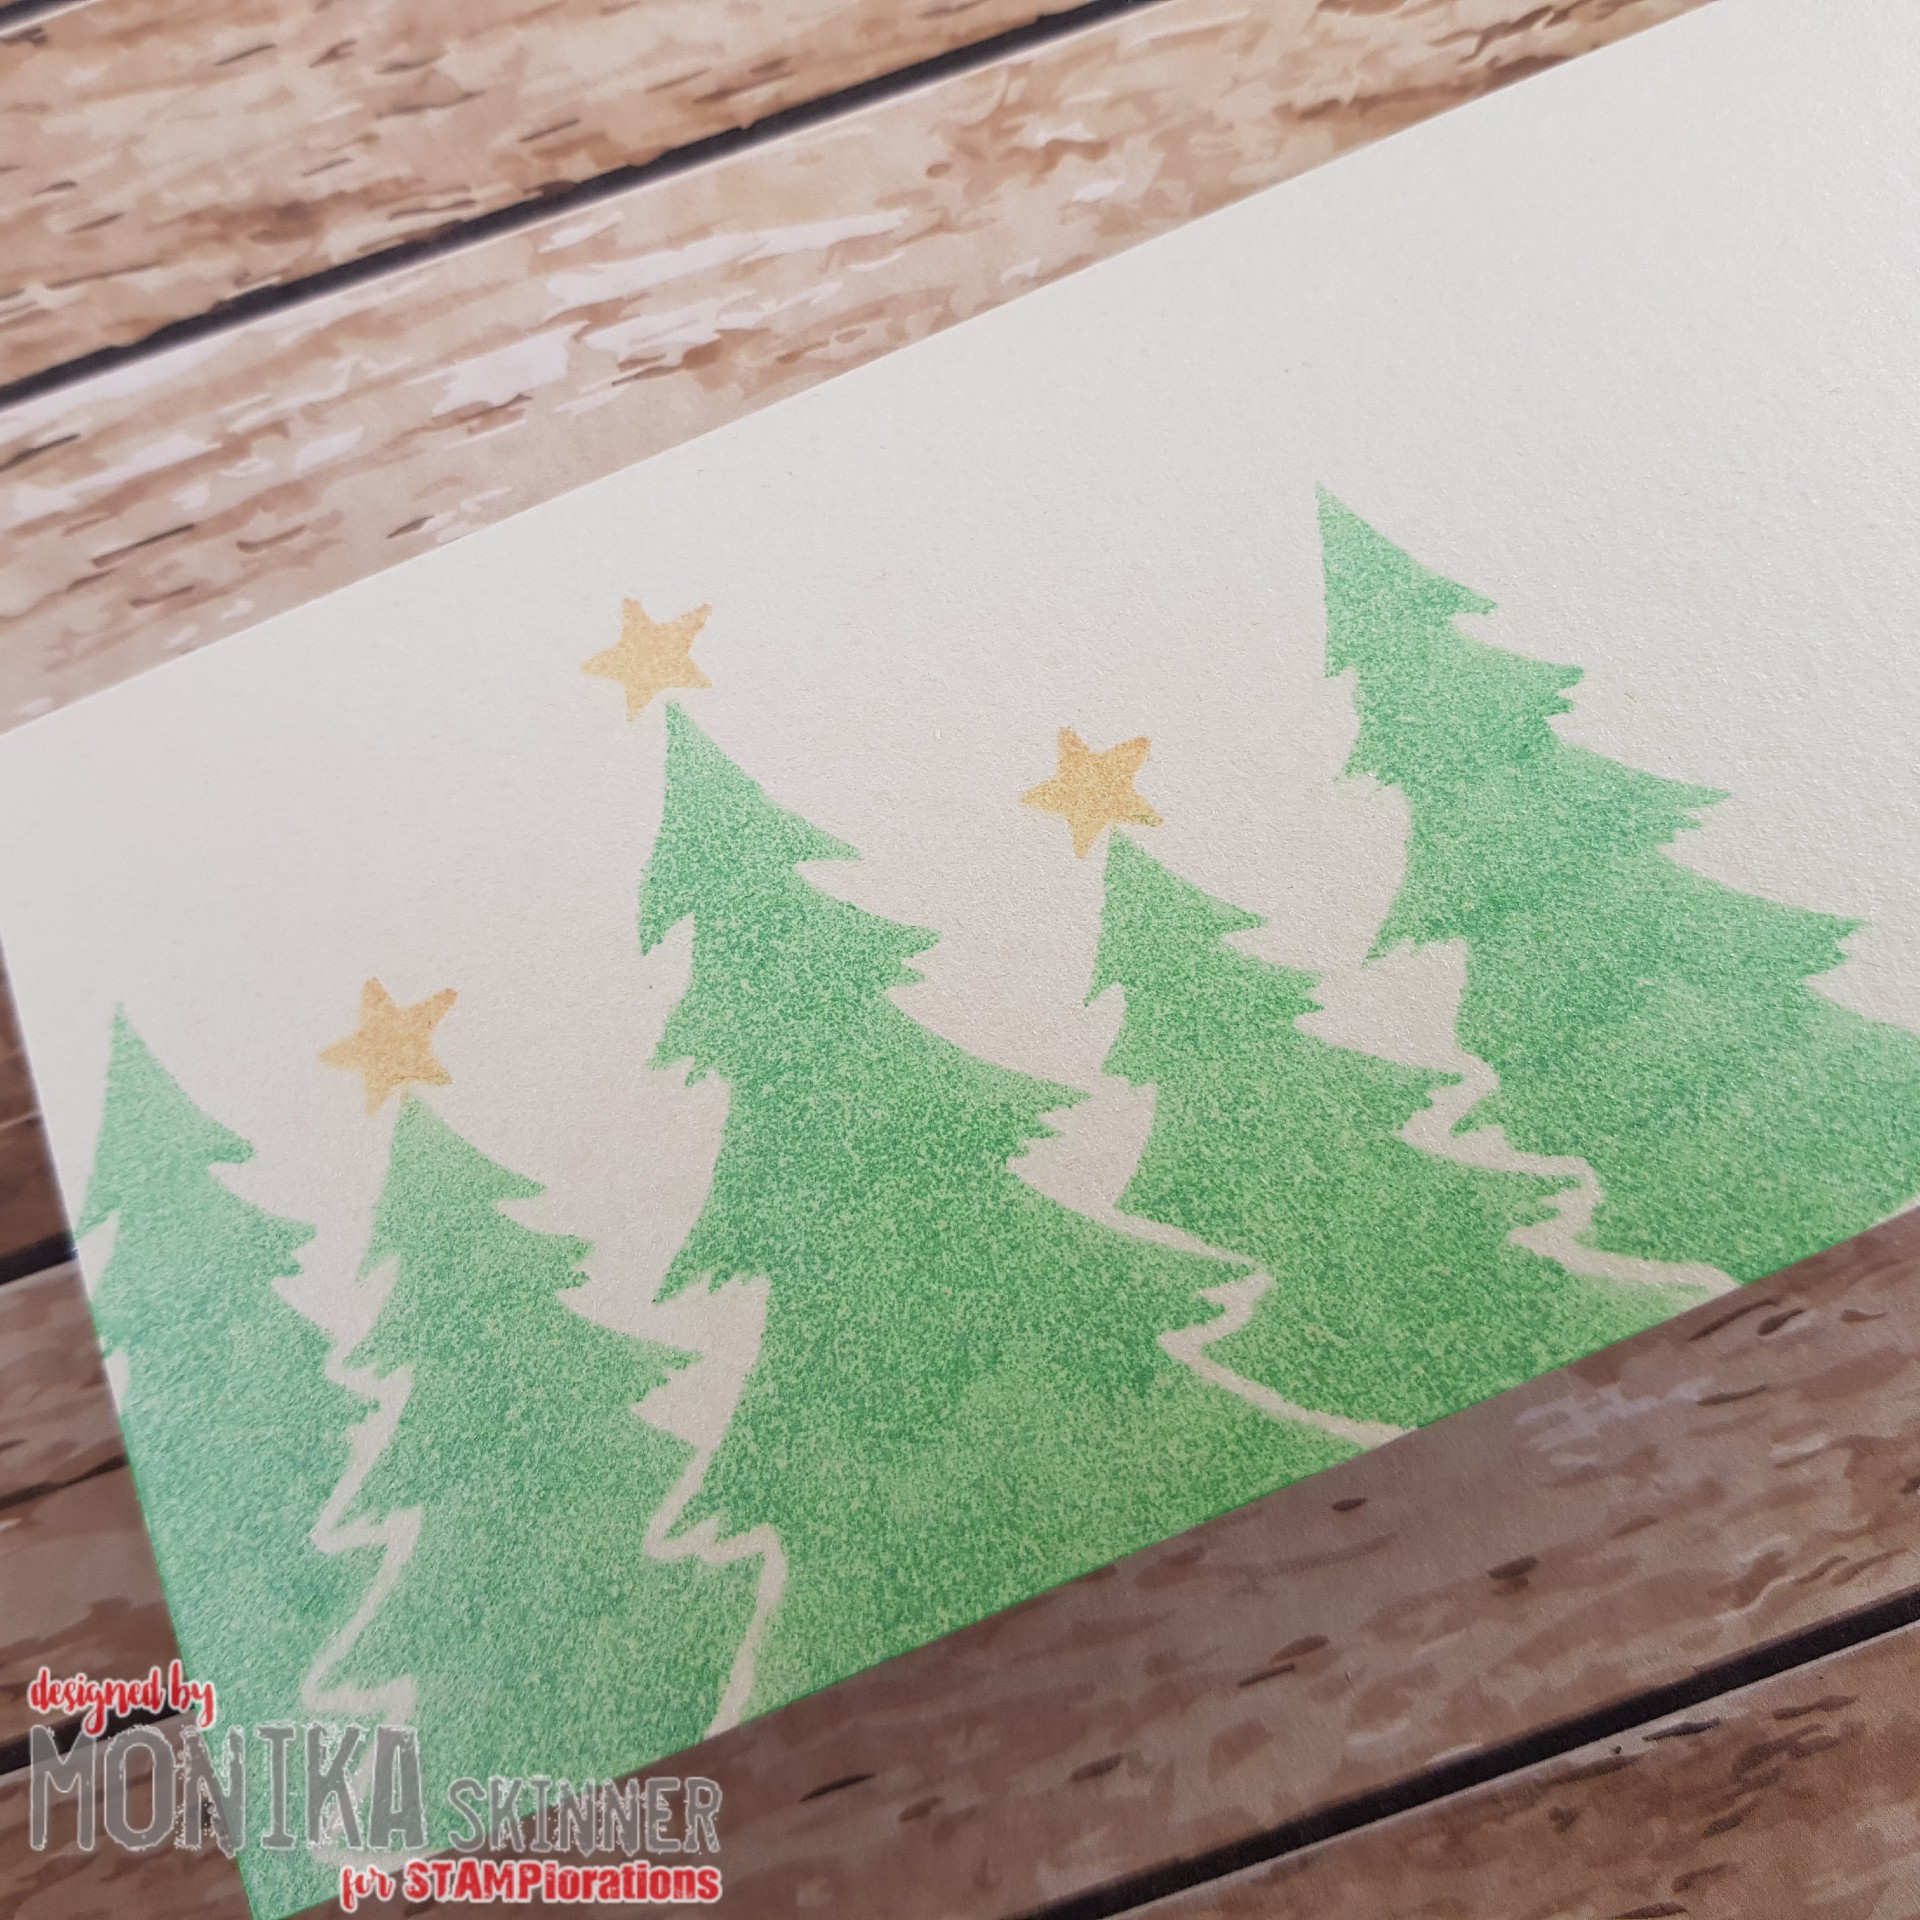
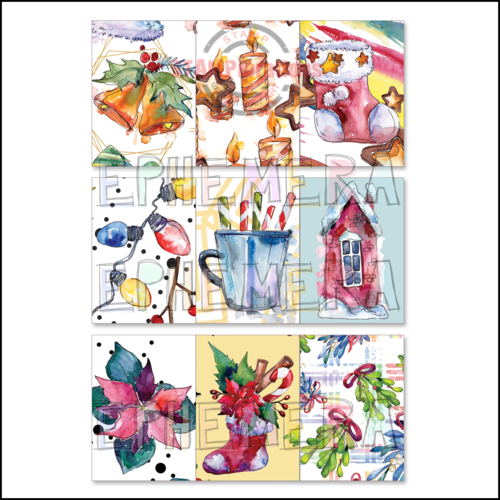
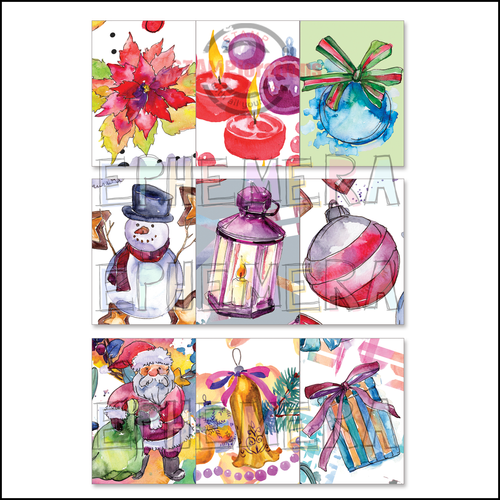
My last trio features some of the cute Christmas Ephemera #1 shapes and stickers from the kit.


The first card from my last trio uses one of the Christmas trees from the Ephemera shapes. Picking up on the star and circular baubles, I used the Confetti #1 Slimline stencil and Tempting Turquoise SU ink to add some stencilling to my card. It was finished off with gem and stamped sentiment in Spanish Moss.


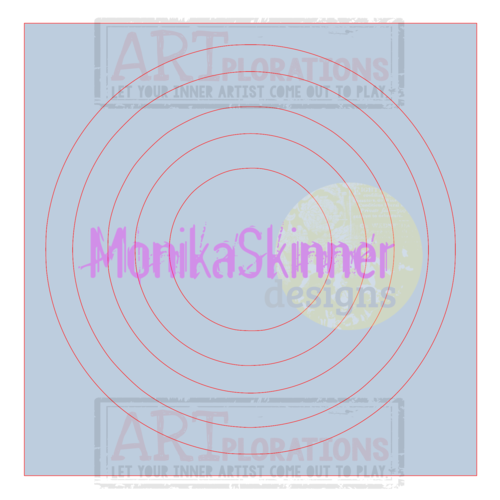
My next card features the Christmas stocking from the Ephemera Shapes. The little background oval was sponged using the Ovals Flexi-Template and Tempting Turquoise. The little stamped snowflakes (Christmas Reindeer) finished the oval background off nicely. My card was finished with a fitting sticker sentiment.


My last card features the cheeky looking gnome from the Ephemera shapes. I used the Confetti #1 stencil to sponge a border down the middle and finished off with a sticker sentiment.


Here are some close-ups ...


So far I must a have made about 30 or so cards using the Christmas In The Air Kit #1, but there are still plenty of other festive makes left to be made with the kit.

I shall be back in September with another array of festive makes using one of the new kits to be released then.

Here are my affiliate link to all the products used from the STAMPlorations Store:


***********


Should you find yourself placing an order, feel free to use my personal discount code STAMPGIRLMONIKA at checkout for a 20% discount on your order. Please note that my discount code can not be combined with any other coupon code, but you can use it as often as you wish. I've got to be honest, if you use the code and/or the link to the STAMPlorations Shop I provide in my posts for your purchases, I will get a little reward.


I hope you feel inspired to start adding some skinny slimline cards to your Christmas stash.

hugs
Monika ❤

Tuesday, 10 August 2021

Wreathed In Joy

Hi Friends!

I'm going all Christmas-sy this month and today's make is a little taster of things to come tomorrow.

Here is my DT piece for the Inspiration Post over on the STAMPlorations blog ...


I sponged the wreaths in Verveine, Emeraude and Grenadine Izink inks, popped up these cute little critters in their car and finished off with a matching sticker sentiment.

Actually the whole card was inspired by the sentiment.


Here are the STAMPlorations products I used in today's card:


I you like the Christmas Ephemera #1 shapes and the Merry Everything sentiment stickers, they are part of the much larger Christmas In The Air Kit #1. You can check it out here.

Should you feel like browsing STAMPlorations' shop, check out their latest offer below.


I've got to be honest, if you use the code and/or the link to the STAMPlorations Shop I provide in my posts for your purchases, I will get a little reward, at no extra cost to you of course.

That's it from me for today. Pop over to the STAMPlorations Blog to check out my teamies' beautiful makes.

I shall be back with more Christmas makes tomorrow. Until then ... have a lovely day!

hugs
Monika ❤

Wednesday, 9 June 2021

Christmas In The Air

Hi Crafty Friends!

Well, how is your Christmas card making going? I am back with another helping of projects for June's Christmas In The Air feature over at STAMPlorations. In this special feature Nancy and I are taking turns sharing a few Christmas projects each.


This month it's my turn to put STAMPlorations Christmas In The Air Kit #1 through it's paces the full content of which will be shown at the end of this post. It's going to be picture heavy as I got a whopping 8 cards to share.


Let's start with some cards using the cute Ephemera shapes.


The first cards uses the wrapped presents and the cut penguin finished off with a sticker sentiment from the kit, a doily shape from the Bloomdala Bliss felicity Dies and the snowflakes from the Christmas Reindeer stamp set.


The second card uses the cute angel shape in combination with a sentiment from the stamp set included in the kit finished off with a little star. The way they're arranged reminds me of a Christmas Tree which I rather like.


Next up are a couple of cards using a stencilled background.


My first one uses the stencil from the kit in combination with the Circles Flex-Template. I masked off the moon and the circle to sponge my background. I then removed the mask for the moon only, attached the trees from the kit stencil and sponged with a darker blue. My sincere apologies, I used distress inks, but can't remember which ones. The card was finished off with doodles, a sticker sentiment and the little car Ephemera.


The next card uses the Squares Flexi-Templates for the background. I sponged the large shape first using the lighter blue before adding and extra frame and sponging with the darker blue. The sentiment is from the stamp set in the kit and the stars are from the Art Marks set. I added the toadstool house and finished off with glitter glue.


My next two cards use a couple of ATCs from the kit.


The first ATC card is a really easy one to make. It's simply layered and finished off with a sticker sentiment. What adds interest to my card is that the blue base card has a silver shimmer and the silver card i used has a green shimmer.


The next card looks a bit more artsy grungy. I created a stamped background using stamps from the kit and added a doodled border. I finished off with a stamped sentiment, a scrunched up flower and sequins.


A couple of more cards to finish today's helping ...


The coffee cards were hugely popular hence I made another one. This time I coloured it with metallic pencils and popped it on a base card with a subtle stamped background using words stamps from the kit and Candied Apple distress oxide. To finish I added a sticker sentiment, the little birdie and some glitter glue.


My last card is a stencilled one-layer card using the truck image from the kit's stencil. Shery included the little cut out bits which you can easily use for multi colouring by simply popping the into the spaces you don't want to colour. inks used for the truck image are: Crackling Campfire, Barn Door, Peeled Paint, Mowed Lawn and Hickory Smoke distress inks. My sentiment was stamped with black Versfine ink and Rustic Wilderness distress oxide.


So far I've made cards, but there are still plenty of other festive makes left in the Christmas In The Air Kit #1. I shall be back in August with another array of festive makes.

Here are my affiliate link to all the products used from the STAMPlorations Store:


***********


Should you find yourself placing an order, feel free to use my personal discount code STAMPGIRLMONIKA at checkout for a 20% discount on your order. Please note that my discount code can not be combined with any other coupon code, but you can use it as often as you wish. I've got to be honest, if you use the code and/or the link to the STAMPlorations Shop I provide in my posts for your purchases, I will get a little reward.


I hope you feel inspired to start adding some projects to your Christmas stash.

hugs
Monika ❤