
Well, well ... who would have thought that one day I'll go all bling on you? That was until these gorgeous slimline stencils landed on my doorstep. They really lend themselves to adding gems ... almost forgotten at the back of a cupboard. Let's bring them out and have some fun.
The stencils I used are new arrivals in the STAMPlorations shop and they're doing a mini blog hop to introduce them. One lucky winner can pick their choice of slimline stencil from the new release. The winner will be randomly drawn from all the comments left on my blog and the STAMPlorations Blog here.
Let's see what I made ...
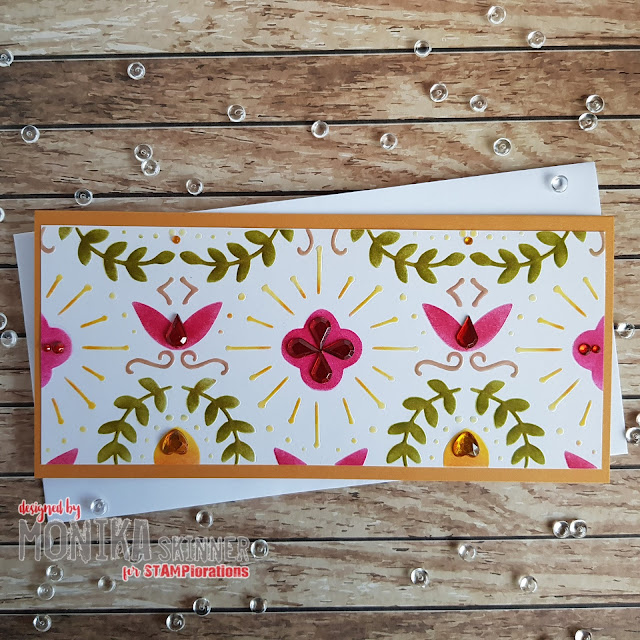
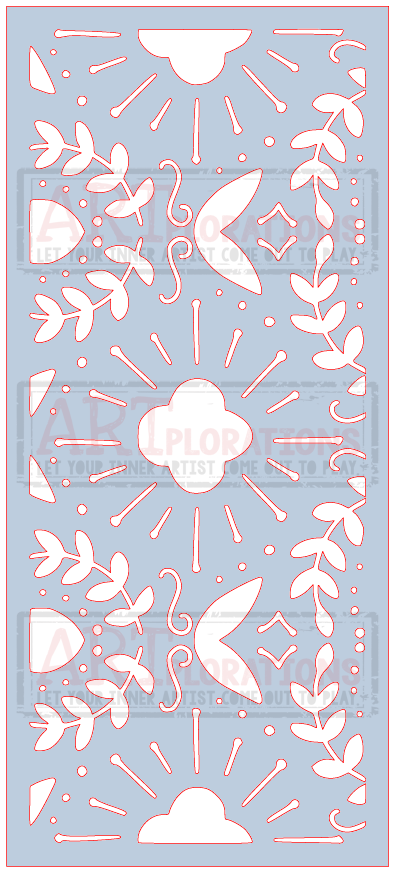
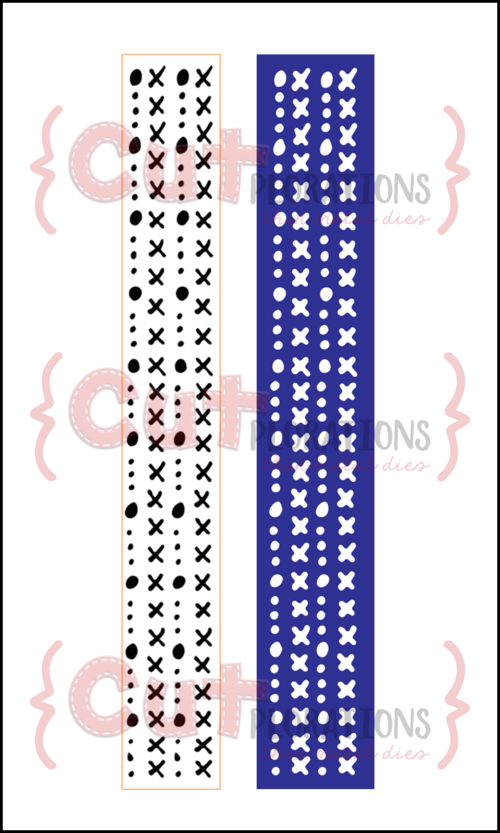
First up is the Boho Delight 1 Slimline Stencil ...
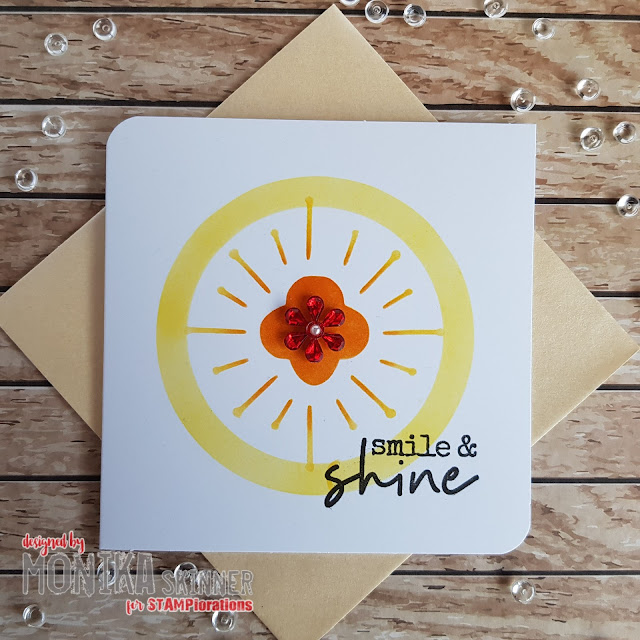
For my next card, I picked the center bit from the stencil and combine it with a sponged frame using the Circles Flexi-Template. Of course, a bit of bling was needed too.
I used my rubber embossing mat and run the stencil through my big shot to emboss it on a piece of white card before adding the colour using small makeup brushes. Rather liking the rich look, I decided against adding a sentiment to the card front and went with gems instead.
For my next card, I picked the center bit from the stencil and combine it with a sponged frame using the Circles Flexi-Template. Of course, a bit of bling was needed too.
***********
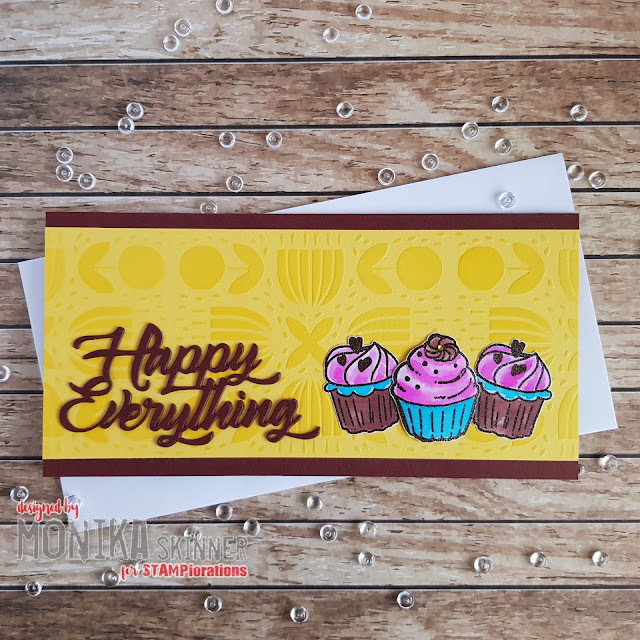
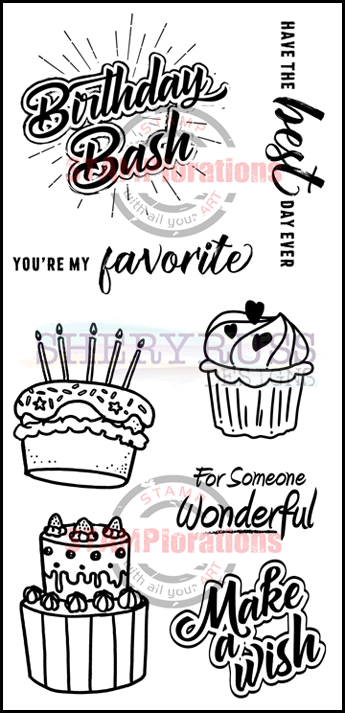
My first card uses it embossed on yellow card sponged with coordinating ink for a more textured look. I finished off with a few cupcakes and die-cut sentiment.
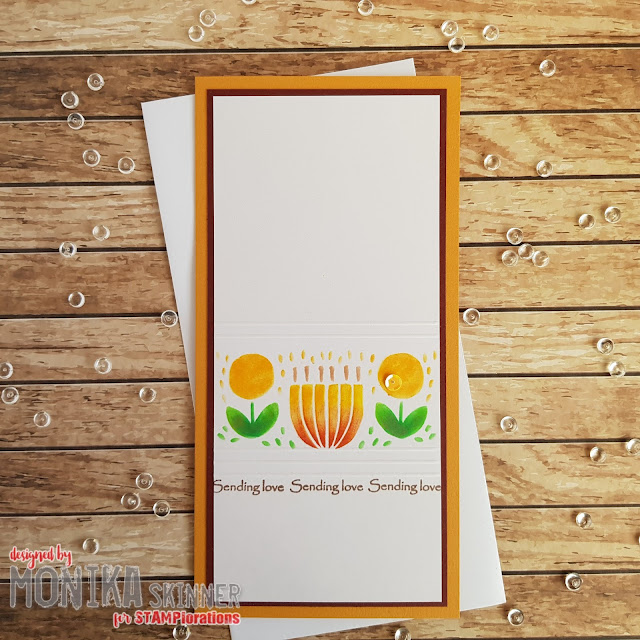
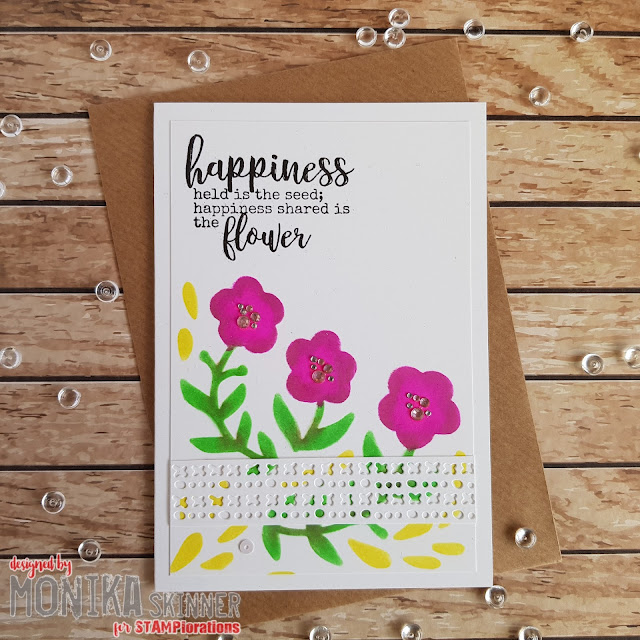
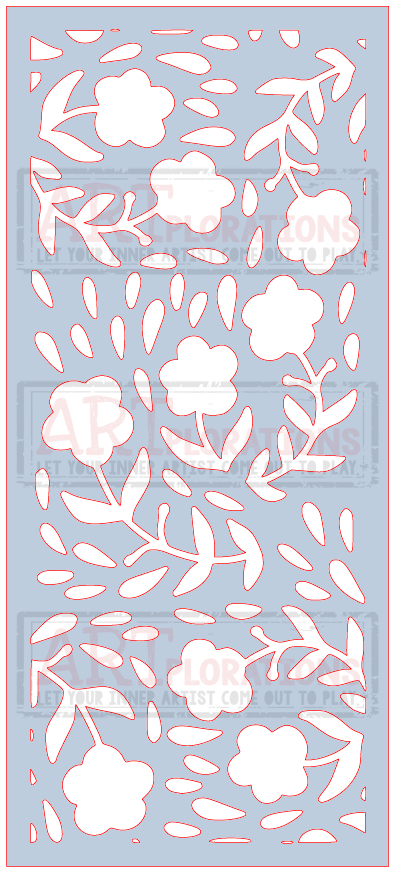
The Flowers Prism stencil is great for picking out bits and stencilling borders too which is what I did in my second card. I simply added a few embossed lines, a 'row stamped' sentiment and sequin to finish.
***********
Last up are my projects featuring the All Over Blooms Slimline Stencil ...
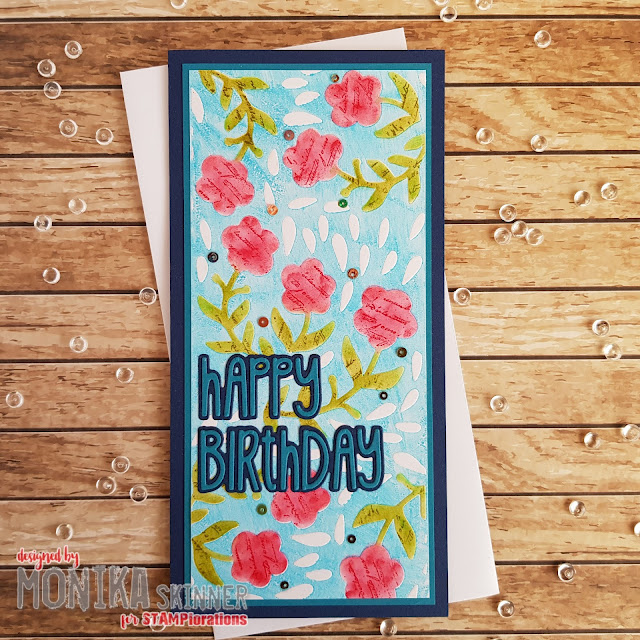
Again I embossed the stencil on a piece of white card to add texture and depth, but before embossing I swiped the stencil with Tempting Turquoise SU ink which gave me my background colour.
TIP!: The 10mil hazy white stencils from the STAMPlorations shop are a bit thicker than the blue ones and give a better texture when used for embossing.
Leaving the stencil in place, I then coloured the blooms and added some script stamping before finishing off with a die-cut sentiment and sequins.
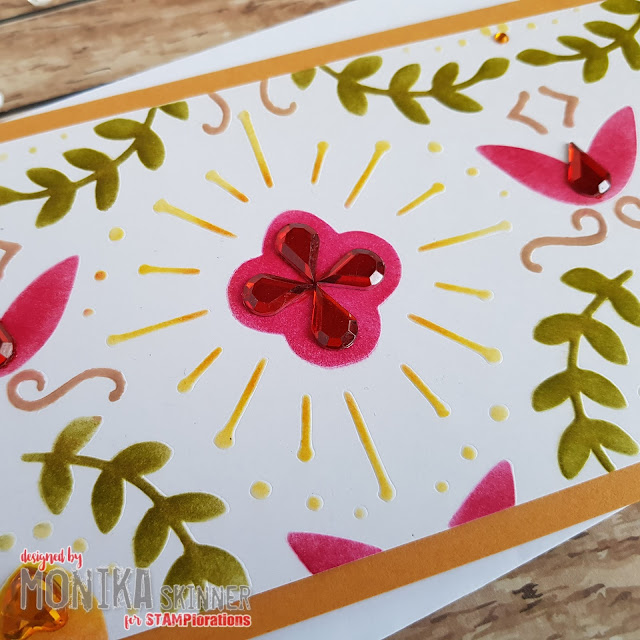
For my last card, I picked out a bit from the stencil, added a die-cut border and stamped sentiment and finished off with clusters of gems.
***********
Here are a few close-ups of my finished projects ...


Here are the STAMPlorations products I used in today's cards:


Should you feel like browsing STAMPlorations' shop, check out their latest offer below.

I've got to be honest, if you use the code and/or the link to the STAMPlorations Shop I provide in my posts for your purchases, I will get a little reward, at no extra cost to you of course.
Pop over to the STAMPlorations Blog to leave a comment too.
I shall be back soon with more crafty makes. Until then ... have a lovely day!
hugs
Monika ❤
I shall be back soon with more crafty makes. Until then ... have a lovely day!
hugs
Monika ❤
Great designs Monika, I love the bright colours
ReplyDeletePretty designs and color combos! I love the new stencils!
ReplyDeleteGorgeous cards, love
ReplyDeletethe use of the gems!
Carla from Arizona
Fab sample cards. Thanks for making some that aren’t slimline cards. My faves of this release are Random Dotty and Distressed.
ReplyDeleteGreat project shares using the stencils. I like the idea to emboss to create the height. Loving the cupcake combination. I thought it was a glaze or other paste for the background. Another fave is the use of the script for the flowers. Thanks for the ideas!
ReplyDeleteThese are all gorgeous but love the yellow flowers prim and cupcakes card. HUgz
ReplyDeleteWonderful work Monika - loving how you have used the stencils - so much inspiration!
ReplyDeleteStay safe
Blessings
MAxine
Such wonderful stencils and awesome cards.
ReplyDelete