Showing posts with label retro circles stencil. Show all posts

Thursday, 3 March 2022

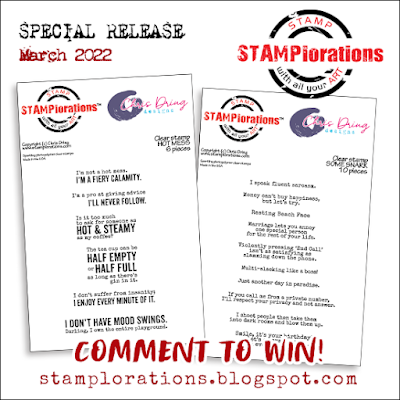
Day 2 - STAMPlorations Special Release

Hi Friends!

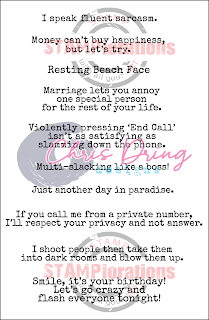
There are some new stamps being released over at STAMPlorations. If you love a bit of snark, they are definitely for you.

Have a look ...


Today my teamies and I are showcasing the first of the two sets called Some Snark.


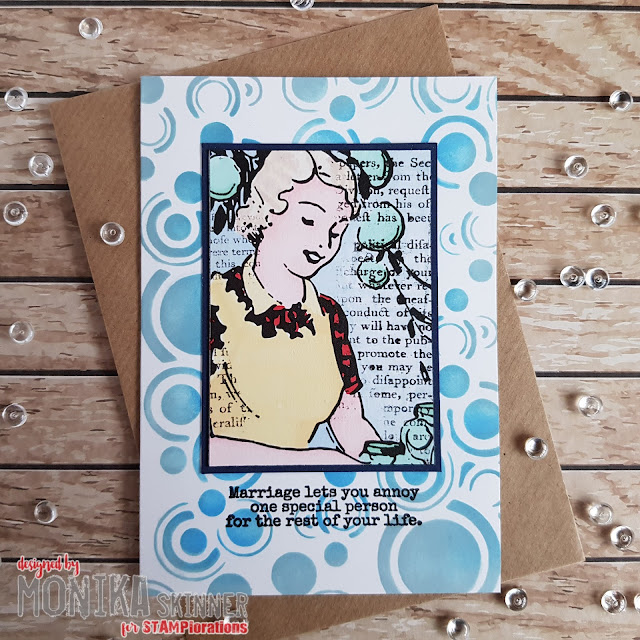
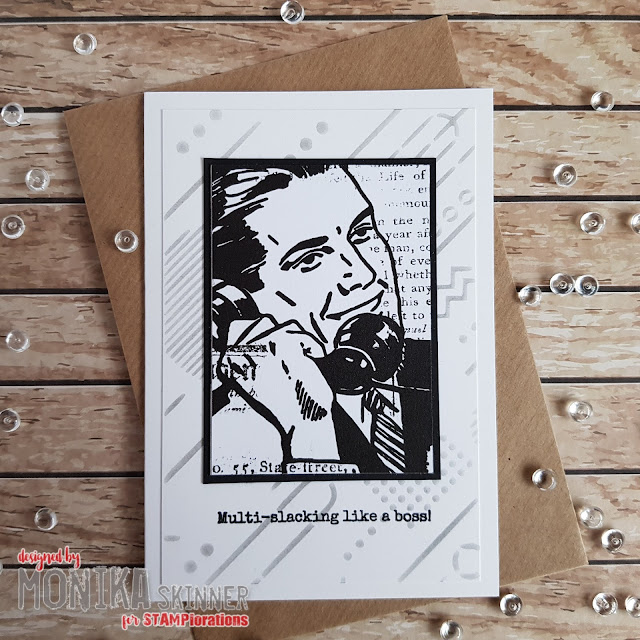
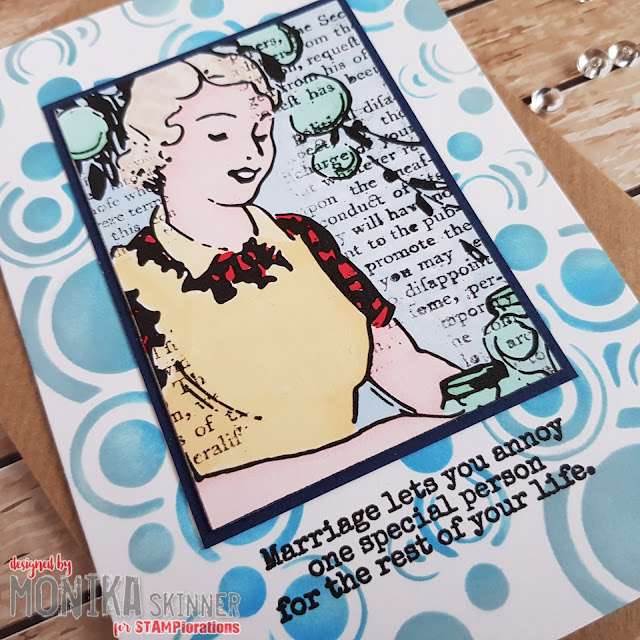
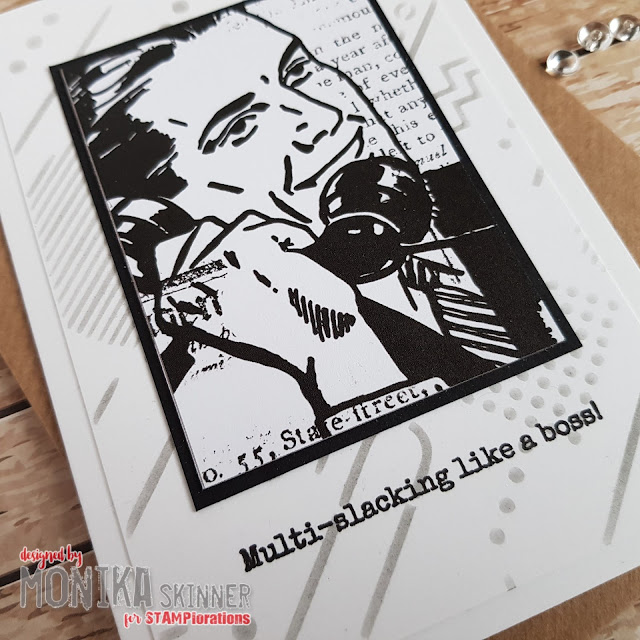
Here are a couple of cards I made using these cool sentiments ...


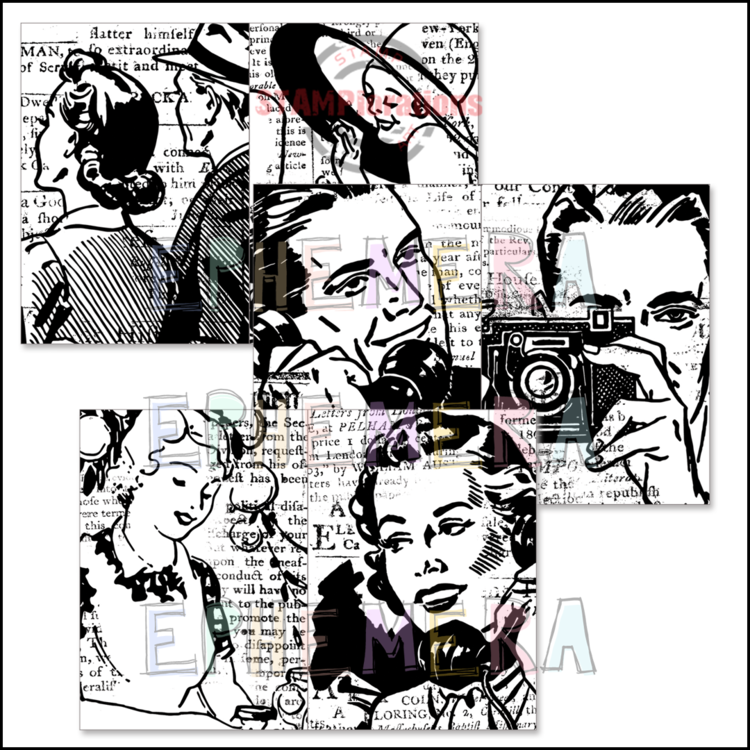
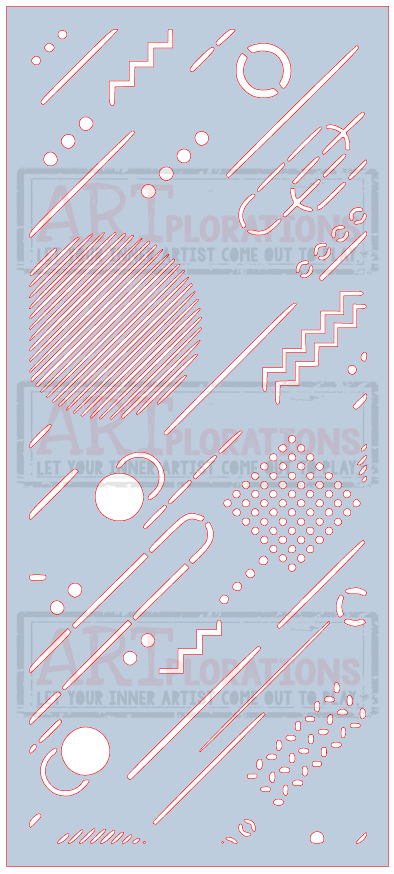
They go very well with the Retro People ATC - Ephemera colourables. I simply added some stencilling before layering and finishing off with sequins.

There will be a little Release Hop, so please make sure to leave comments as you go along for your entry to win one of the new stamp sets, your choice. The winner will be drawn at random from comments left on all the participating designers' post and the corresponding post on the STAMPlorations Blog here. This is also where you can find all the links to my teamies' blogs too.
The winner will be published on the STAMPlorations Blog on March 10.

Both new stamp sets are available for pre-order at a 25% discount until March 15 from the STAMPlorations Shop (affiliate link).


These are the other STAMPlorations products I used in my projects:


Should you feel like browsing STAMPlorations' shop, check out their latest offer below.


I've got to be honest, if you use the code and/or the link to the STAMPlorations Shop I provide in my posts for your purchases, I will get a little reward, at no extra cost to you of course.

That's it from me for today. Pop over to the STAMPlorations Blog to check out my teamies' beautiful makes.

I shall be back soon with more crafty makes. Until then ... have a lovely day!

hugs
Monika ❤

Wednesday, 5 June 2019

Rooting Through Left-Overs

Hello Crafty Friends!

The other day I was rooting through the box where I keep my left-over bits. Those sort of things that might come in handy again. I'm sure you probably got one too.

Here are two cards I made using some of those bits ...


The first one uses a stencil print, a negative die-cut sentiment, die-cut butterfly and border.


The second one uses a couple of die-cut frames, a couple of stamped and coloured feathers and a newly stamped sentiment to finish the card.

Here is a last look at both cards ...


Keeping it short and sweet today. Back soon. Enjoy your day!

hugs
Monika xxx

here is what I used from
- Stamplorations Online Store:
Retro Circles, Feel Better Soon Phrase Die, Flutter Zen 1 Layering Dies
preview-web-stencil-051-retrocircles 0preview-feelbettersoon preview-flutterzen1layeringdies

Feathery, Feathery Dies
preview-Feathery preview-Featherydies
Just a quick heads up ...
STAMPlorations are having a birthday sale throughout June. All the products in their shop's 8th Birthday section are on offer at 30% off, no coupon needed. The discount will be automatically applied at checkout. If you love a bargain, you can get an added 20% off by using my personal discount code STAMPGIRLMONIKA at checkout.

- my stash:
frame dies, magenta aquarel liquid watercolours, pink embossing powder, gold Artiste spritzing ink, white card, patterned paper, sequins, Stickles

- Stampin'Up!
Daffodil Delight and Rich Razzleberry card, Pumpkin Pie and Pacific Point ink, Pacific Point Stamp'n'write marker, vellum


Monday, 1 April 2019

A Celebration Of Spring

Hello Crafty Friends!

Over at STAMPlorations they are celebrating Spring. Each day during the run-up to Easter their DT will feature Spring themed makes plus there'll be lots of prizes to be won.

Here is my DT piece ...


This card was inspired by a look at our garden and the work needed to tidy it up after the winter. A hot cuppa always helps.

The main image is one of STAMPlorations new, soon to be released digi stamps which I re-sized before printing. It's coloured using Twinkling H2Os. I was really surprised how well it worked on inkjet paper.

A bit of background stamping with leaves and splatters, some doodles with a white gel pen through my stencil plus a bit of shading and my background was ready.

The butterfly is heat embossed and coloured using H2Os.

As mentioned earlier, each day there is a prize to be won ... and toady's prize is ...


As with any blog hop, you need to leave a comment on the participating designers' blogs and on the STAMPlorations Blog itself. All the links to the participating blogs can be found here on the STAMPlorations Blog.

During the Spring Fling event and throughout April, all the products listed under the SPRING FLING section in their shop are on offer at 25% off, no coupon needed. Using my personal discount code STAMPGIRLMONIKA at checkout gives you an added 20% off which would mean a whopping 45% discount on all the products from the Spring Fling section.

Here is a another look at my project ...


That's it from me for now. Have fun hopping along!

hugs
Monika xxx

here is what I used from the STAMPlorations Shop:

Fluttery, Always Tea Time, Art Marks, Leaves Of Thanks,
preview-Fluttery preview-SheryRuss_AlwaysTeaTime preview-SheryRuss_ArtMarks1 preview-LeavesofThanks

Retro Circles Stencil,
preview-web-stencil-051-retrocircles

Monday, 26 October 2015

Be You

Hi Everyone!

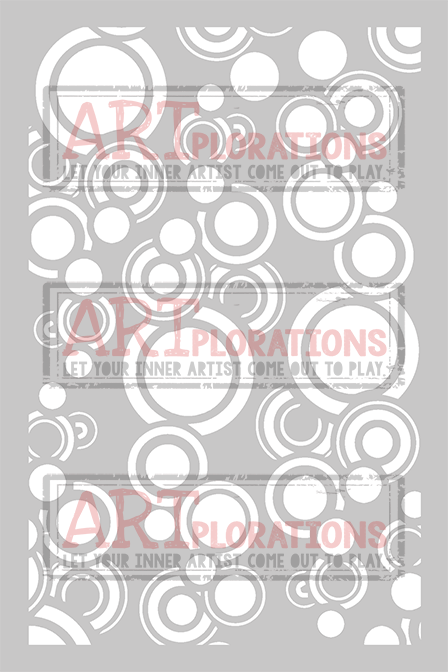
It's inspiration time over at STAMPlorations. I thought I'd do something a little different today and opted for a slightly fussy card using the Hope Blooms stamp set and Retro Circles ARTplorations stencil with a hint of Mixed Media Elements. Sounds a bit like a cooking recipe ....


I dry embossed and sponged the Retro Circles, die cut a swirl, stamped and coloured the butterflies, added a piece of burlap, stamped my sentiment, added some doodles, decided the base card needed a mixed media style border, layered everything up, added a few sequins and finished off with a touch of glossy accents on the sentiment.

Pop over to the STAMPlorations Blog to see the fabulous creations my teamies are sharing there plus if you like challenges or CASEing, there is always some fun to be had. Check it out!

Keeping it short again today, Whilst my energy levels have improved, typing using my right hand is still a little challenging.

Have a lovely day!

hugs
Monika xxx

what I used, links as ususal in the text above
preview-SRD-HopeBlooms copy SheryRuss_MixedMediaElements preview-web-stencil-051-retrocircles
swirls - Tim Holtz by Sizzix

Tuesday, 1 September 2015

CASEplorations September


Hi All,

Can you believe it, it's already September! Well the good news is that this month's CASEplorations inspiration project by Gail, better known as ionabunny the Crafty Nomad, is sure to raise at least a smile ...


What do you think ... did it make you smile ... or laugh out loud? Well, I burst out laughing when I first saw this cute little piggy. You can find Gail's original post here, check it out.

The question was how do I CASE this magical tag without having Penny, the pig??? I had to get down to basics and look ... what did I see??? I saw Designer Paper, Retro Circles ARTplorations Stencil, three catchy words, distressed edges, sequins, ribbon, an animal, fun and laughter, cuteness, brad, wiggly eyes, tag, die cut and lots of pink.

Here is what I made of it, my second project was the one I made first, and I'll come to that later.

For my butterfly card I decided to use the Artful Flutters set and went with the three  catchy words, Designer Paper, Retro Circles stencil, die cut, sequins and an animal.


I cut a rectangle from DP and sponged the Retro Circles using not quite navy ink. I then black embossed my sentiments, red embossed and fuzzy cut my butterfly, spritzed my white base card with a little gold and die cut the flourish from white Centura Pearl card before layering it all up and finishing off with a gem and some sequins

For my next card I went with stencil, distressed edges, die cut, cute animal and fun hoping that it would at least get an Awwww ... that was until I realized that the set I used hasn't been released yet! Here it is anyway as a little teaser of things to come ...


The set designed by Shirley is called Pets and due to be released this month with a Mini Blog Hop over on the STAMPlorations Blog. The pets and sentiments are absolutely adorable and a really good reason to stay tuned.

I die cut a rectangle from cream textured card, stamped and watercloured (Soft Suede, Sahara Sand) the little dog, stamped my sentiments, all from the Pets set of course, and added a punched bone. I then imagined what it might look like if a boisterous puppy or kitten were let loose in my already somewhat chaotic craft space ... I had to create a mess!!! I did this by sponging the ARTplorations Gridlocked stencil using Sahara Sand and lots of spritzing with Sahara Sand, Early Espresso markers and spritzing tool plus Cardinal Red and Gold spritzing inks. I scrunched up and distressed (Soft Suede) a piece of map from an old diary before layering as see ... and my card was finished.

I hope you'll feel inspired to give CASEing a go this month. You can find the linky at the end of each months Inspiration posts, linking closes on the 5th of the following month, in this case the 5th October.

Back soon with more inspiration.

Have a lovely day!

hugs
Monika xxx

here is what I used:

sets and stencils from STAMPlorations, links are in the above text. Sorry I can't give you a link nor graphic for the Pets set as yet, but will update as soon as it becomes available.

stmp1035.jpeg preview-web-stencil-051-retrocircles preview-web-stencil-038-gridlocked
Pierced Rectangle stax dies by Die-namics
flourish die - Britannia dies
Designer Paper, Not Quite Navy, Soft Suede, Sahara Sand, Early Espresso inks, Sahara Sand and Early Espresso Stamp'n'write Markers by Stampin'Up!
Cardinal Red and Gold Artiste Spritzing inks - docrafts
Black and red WOW embossing powders
White Centura Pearl card - Crafter's Companion

Thursday, 23 July 2015

Grow Your Wings

... and learn to fly

Hi Everyone! Today I am sharing a little canvas I made for the Spotlight Feature over at the STAMPlorations Blog. I worked with The Bee's Knees' Party Girl, Shery Russ Designs' Eclectic Florals and ARTplorations Stencils Retro Circles and Old Rose Prints. It is the type of project I have been wanting to do for a while now,but never really dared getting even started. One could say that this canvas was inspired by the collective work of our Mixed Media Girls. They inspired me to finally taking up the challenge which, once started, was not that difficult after all.


I recently discovered the joys of using Mod Podge hence I wanted to try using it as a glue and sealant in my project. I think I'm becoming seriously hooked as I've already got a few more canvas projects started ...

... back to today's project, here is how I made it:

Allowing for plenty of drying time between the steps, I begun by sticking some pretty paper on a small canvas using Mod Podge.

TIP!: I used some off-cuts as I was pretty sure that one wouldn't see the join in the end, but it might have been a little easier using a purpose cut piece instead.


Next I created a wash using pink, green and gold acrylic paints...


... before stenciling the Old Rose Prints using gold acrylic paint and a make up sponge.


Next I heat embossed the Retro Circles using Rainbow Crystal embossing powder, which is basically clear embossing powder with glitter.


I then stamped, coloured and fuzzy cut Party Girl, gave her some sliver skeleton leaves as wings and added some die cuts and ribbon. Next I blended some melon mambo ink on a piece of white card before stamping and fuzzy cutting one of the small flowers from the Eclectic Florals set, printed and fuzzy cut my computer generated phrase before adhering and sealing it all into place using Mod Podge.

TIP!: Use the smallest brush you can get away with. The one I used was a little too large for the size of my project and I ended up with a thicker coat of Mod Podge than I would ideally have liked.


Once dry, I finished off with some pearls and doodles in gold (Uni Ball Signo) and clear star (Sakura Gelli Roll) adding some subtle shading, detail and borders. Yes, it's fab! You really can doddle on Mod Podge and it won't wipe off.

Here is another look at the finished project.


I would like to enter my canvas at:
Sisters of Craft - Anything Goes
613 Avenue Create - Anything Goes, optional twist add moon or stars. Well, I didn't go for the twist, but when it comes to the Apollo theme ... she's got wings to fly

Feel free to pop over to the STAMPlorations Blog and leave a comment on my post for your chance to win one of their amazing prizes.

That's it from me for today. Hope you feel inspired to make something different, something you always wanted to try.

Have a lovely day!

hugs
Monika xxx

here is what I used:
stamps and stencils from STAMPlorations, links are in the text
PartyGirl-web-preview stmp1038.jpeg preview-web-stencil-013-old-rose-prints.jpeg preview-web-stencil-051-retrocircles

gold acrylic paint - Poundland
canvas, rose ribbon, green and pink acrylic paint - The Works
leaf flourish die - Britannia Dies
grass die - Clearly Besotted
ribbon - Fantastic Ribbons
gel pens - craft shop at Burleydam Garden Center
DSP, Mod Podge, gems, Promarkers, Spectrum Noir Markers, silver skeleton leaves and embossing powder from stash