Hi Crafty Friends!
I got a little tutorial for you today. I've basically been playing with some dies to get a framed look.
You may remember my card
here from a few weeks ago with the poppy die-cut and the colourful background. It was my first time trying out this idea.
Today's cards will give you a couple more ideas, let's have a look ...
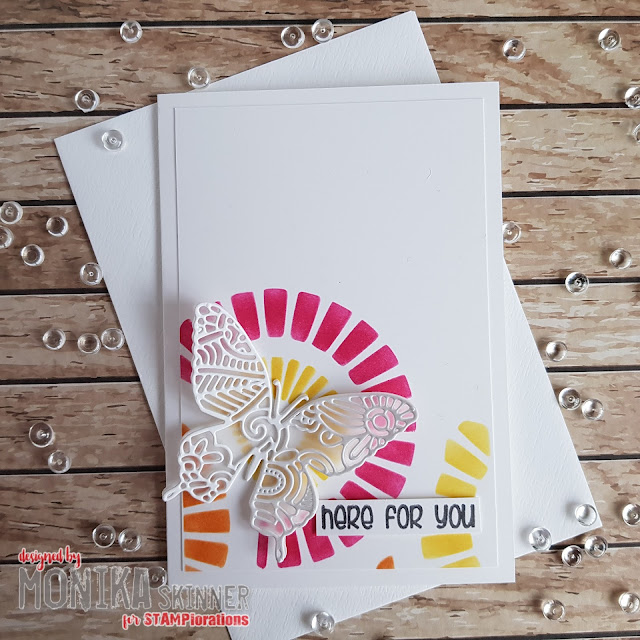
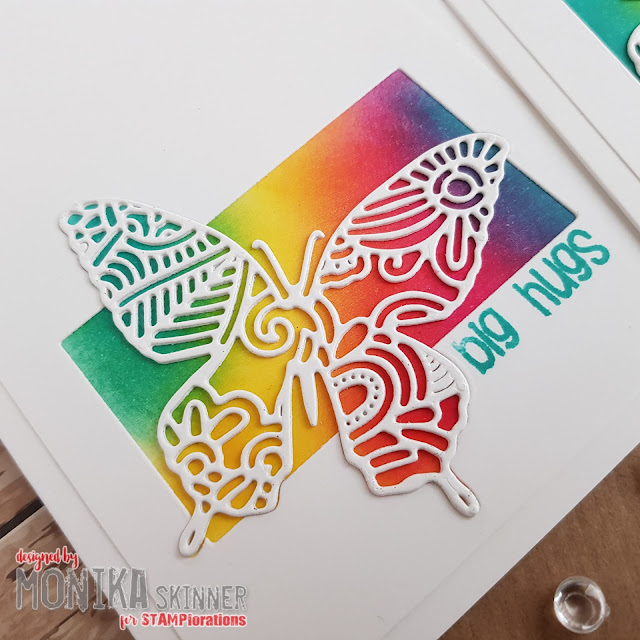
On one card the colour extends to outside the frame through the wings of my butterfly whereas on the other card the colour stays within the rectangle.
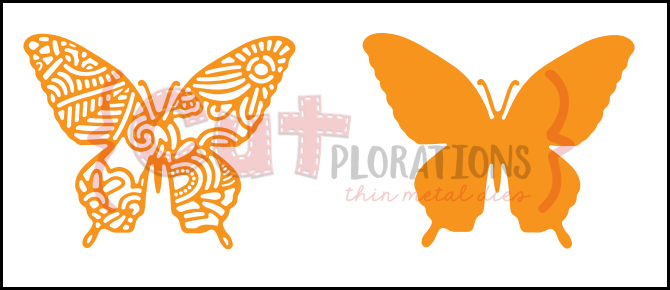
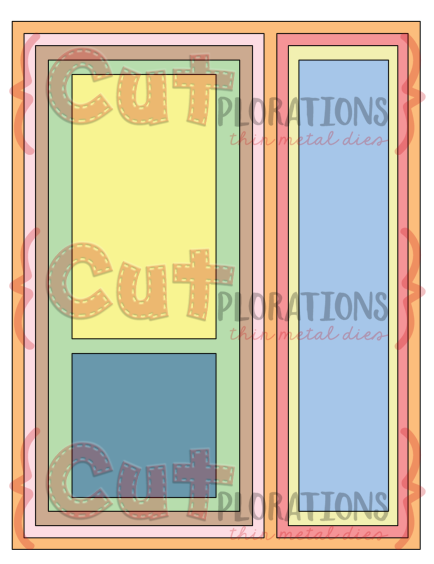
To start with I picked the Flutter Zen #1 layering dies and one of the smaller frames from the Basic A2 Panels nesting dies and laid them out on my card base and front to decide on the layout.
Next I die-cut first the butterfly and then the rectangle.
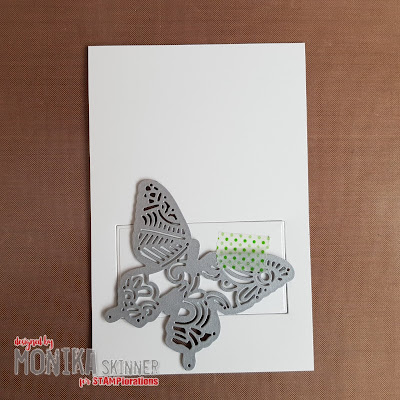
At this point I thought it might be fun to add a variation by cutting the rectangle first and then the butterfly. I cut the rectangle placed it into the one from the first card front, aligned the butterfly and secured it to my rectangle before cutting which gave me the two card fronts below.
I cut two more butterflies for extra layering.
I then masked off around the edges of my base cards and applied some colour. Apologies for swapping the two base cards around in the photo, the sponged rectangle is the one for the butterfly cut from the rectangle, the unevenly blended one for the one with the die-cut wings extending outside of the rectangle.
The next step is to simply attach the card fronts to their bases before inlaying the butterflies.
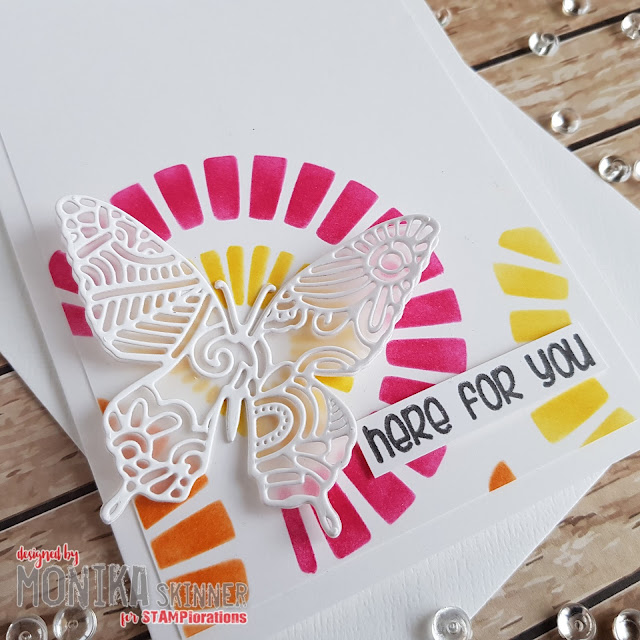
I added the partially cut one to the rectangle and added a fully cut shape on top for extra dimension. It looked pretty the way it was, but I wanted the wings to extend into the uncoloured space.
For the second card, I simply double-layered the butterfly before adding it, finishing both cards off with a stamped sentiment.
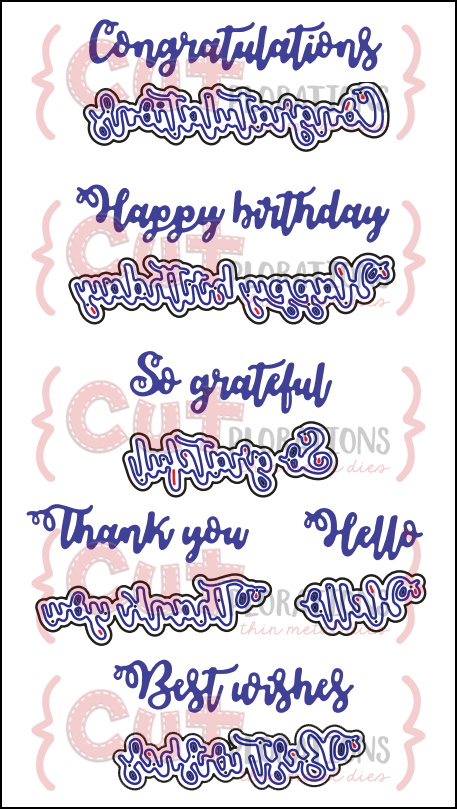
Here are the STAMPlorations products I used in today's card:
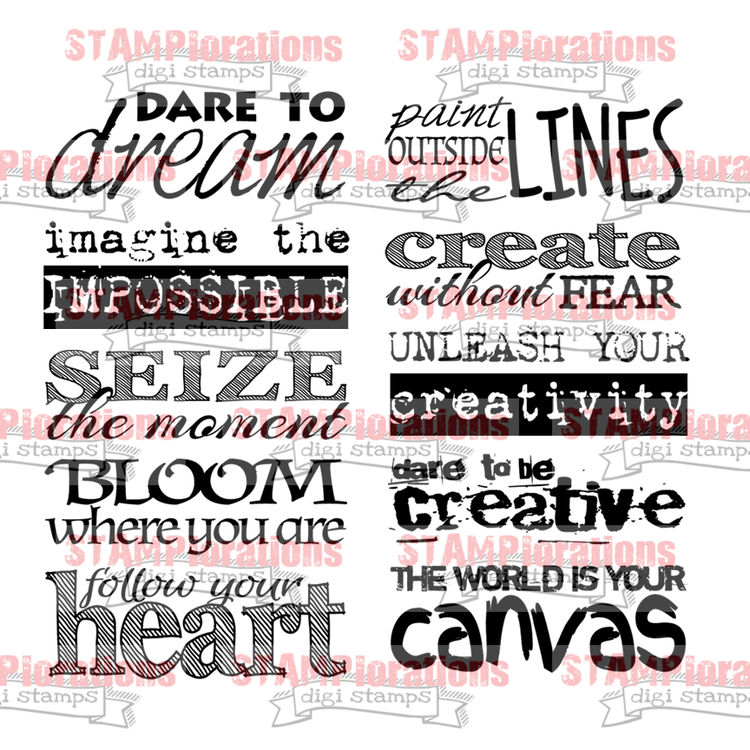
The sentiment is from one of their retired sets called Bloom Sketches
Should you feel like browsing STAMPlorations' shop, check out their latest offer below.
I've got to be honest, if you use the code and/or the link to the
STAMPlorations Shop I provide in my posts for your purchases, I will get a little reward, at no extra cost to you of course.
That's it from me for today. Hope you enjoyed today's tutorial.
I shall be back soon with more crafty makes. Until then ... have a lovely day!
hugs
Monika ❤


