

There are some new kids on the block over at STAMPlorations: Craftplorations MDF Shapes.
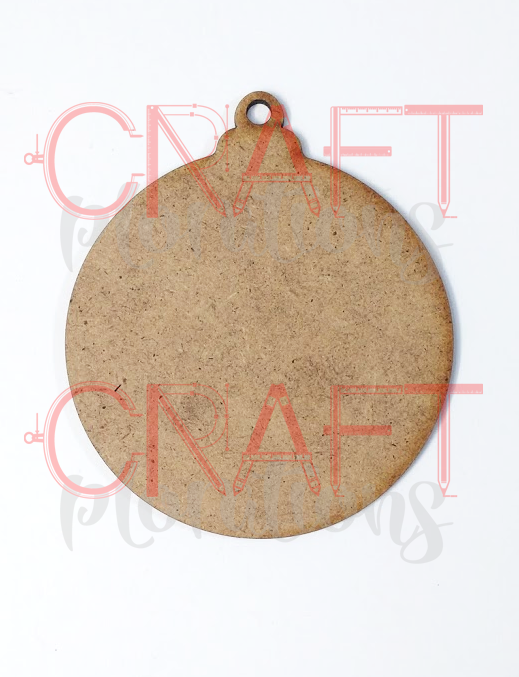
Today I'm introducing you to the new Christmas Bauble #1 shapes. They are perfect for making your own decorations or to use as gift tags.
My project today could be used as either:

At approx. 3 inches wide, the baubles are a really good size. I decided to trace the shape on card and cover both sides of the bauble softening the edges with a sanding block.
I blended both sides with Daffodil Delight and allowed them to dry thoroughly.
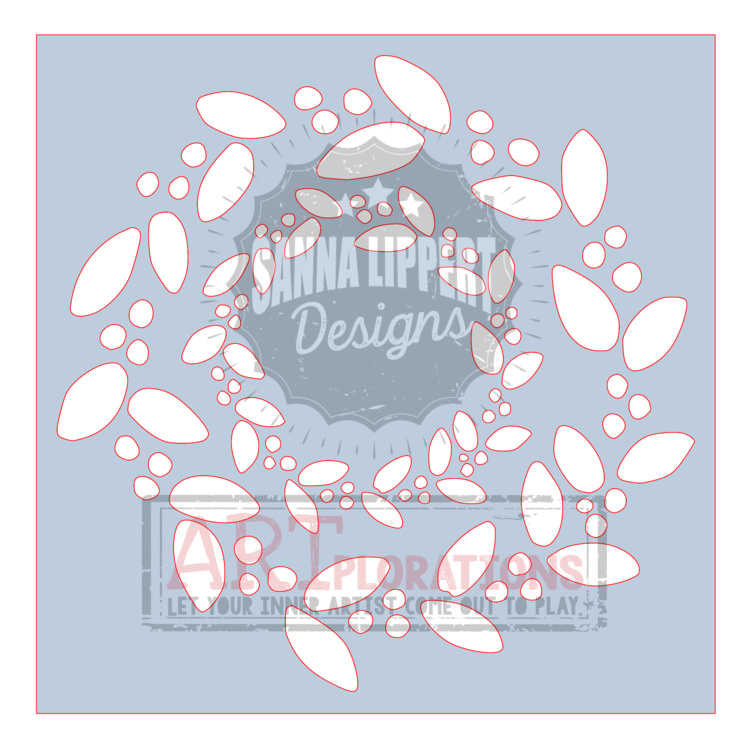
After discovering that the small wreath from Sanna's new Christmas Wreaths stencil fitted the bauble perfectly, I sponged it on both sides of my bauble using Miel Izink ink.

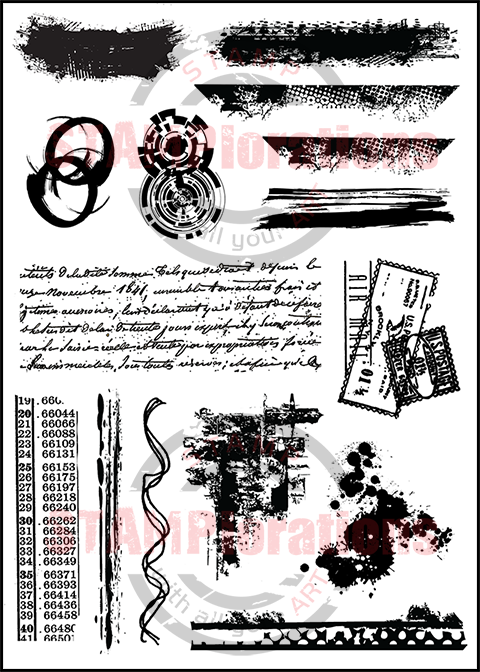
Stamping the script from the Mixed Media Elements and lightly blending the edges with Miel ink added a little more interest to what was going to be my background.

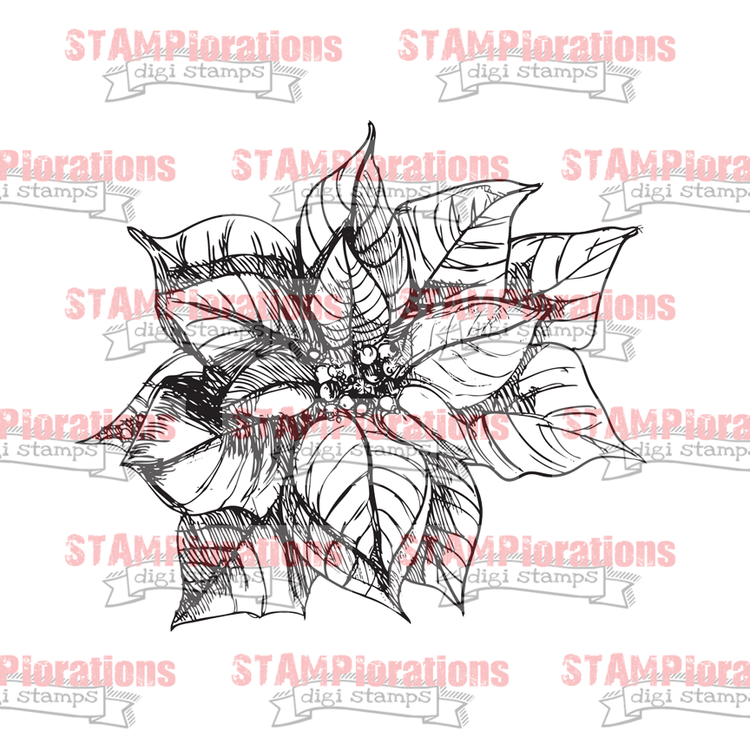
Next I sized, printed and coloured the poinsettia from the Sketched Christmas Flower & Poinsettia Row digital stamp set, fuzzy cut the full flower and a second smaller layer and added them to the front of my bauble. I decided to turn the second layer to add more depth rather than have it align with the original image.
Gems and ribbon finished he bauble off perfectly.
TIP!: I find that when I premix my watercolours and then use a dryish brush to apply them, I am usually okay watercolouring inkjet printed digis. The trick is to have the brush as dry as possible to avoid wetting the printed lines too much.
I think it would be rather fun to decorate a few more of the baubles and turn them into some sort of festive Christmas bunting. This could look rather nice.
For your chance to win a set of Christmas Bauble #1 shapes, one Christmas Wreaths stencil and a set of the Sketched Christmas Flower & Poinsettia Row digital stamps, leave a comment on this blog post and the corresponding post on the STAMPlorations Blog by August 8.

Should you find yourself placing an order, feel free to use my personal discount code STAMPGIRLMONIKA at checkout for a 20% discount on your order. Please note that my discount code can not be combined with any other coupon code, but you can use it as often as you wish. I've got to be honest, if you use the code and/or the link to the STAMPlorations Shop I provide in my posts for your purchases, I will get a little reward.
I hope you feel inspired to turn your hand to altering a mini tag or two.
Have a lovely day!
hugs
Monika
here is what I used from the STAMPlorations Shop
- Main Store
-Digital Store
This is just stunning! LOVE the yellow with the stencilled design.
ReplyDeleteFabulous project!
ReplyDeleteWhat a great project, Monika. Especially like the rich color combination. tfs-stay well.
ReplyDeleteI love what you did with this stencil and other item to make this ornament.....well done
ReplyDeleteI like the way you colored the Poinsettia. It is a "messy" look, which I love. I'm not very good at it, but I like when others perfect it :)
ReplyDeleteThis is beautiful. thanks for sharing how you made it.
ReplyDeleteLove this, looks
ReplyDeletefabulous with the
wreath and Poinsettia
on it. Works as a tag
or ornament.
Carla from Utah
Your Christmas ornament looks so vibrant and beautiful.
ReplyDeleteThis is gorgeous! Love the poinsettia and beautiful stencilling!
ReplyDeletewow, so beautiful, I love the poinsettia too!
ReplyDelete