
Last week I had a go at tidying up my work space. It had gone quite messy under heaps of crafting stash, papers and projects in progress. It is astonishing what one can find ... hence today's post is dedicated to finishing some of the projects I started a while ago.
I shall also give you a little tour of my room at the end. This will be a very picture heavy post ...
First up is another make using my Jofy Mini 33 by PaperArtsy ...

... this time I stamped it twice, coloured, doodled a border, layered on my base card, added a sentiment (Graphic Pentagons by STAMPlorations) and finished off with a sequin. My other card using this Jofy stamp can be found here.
I am entering the above card at:
Addicted to Stamps and More - Make your Mark, I used Promarkers and a fine liner pen
Next up is a card I started off in a workshop last year ...

... where I got my base card a little messy. I rescued it by stamping the splashes (Mixed Media Elements by STAMPlorations), added my sentiment (Chevron and Arrows by STAMPlorations) and a few sequins to finish. Sadly I can't remember the make of the original stamped image.
Next up is another project started at the same workshop with Lindsay Mason ...
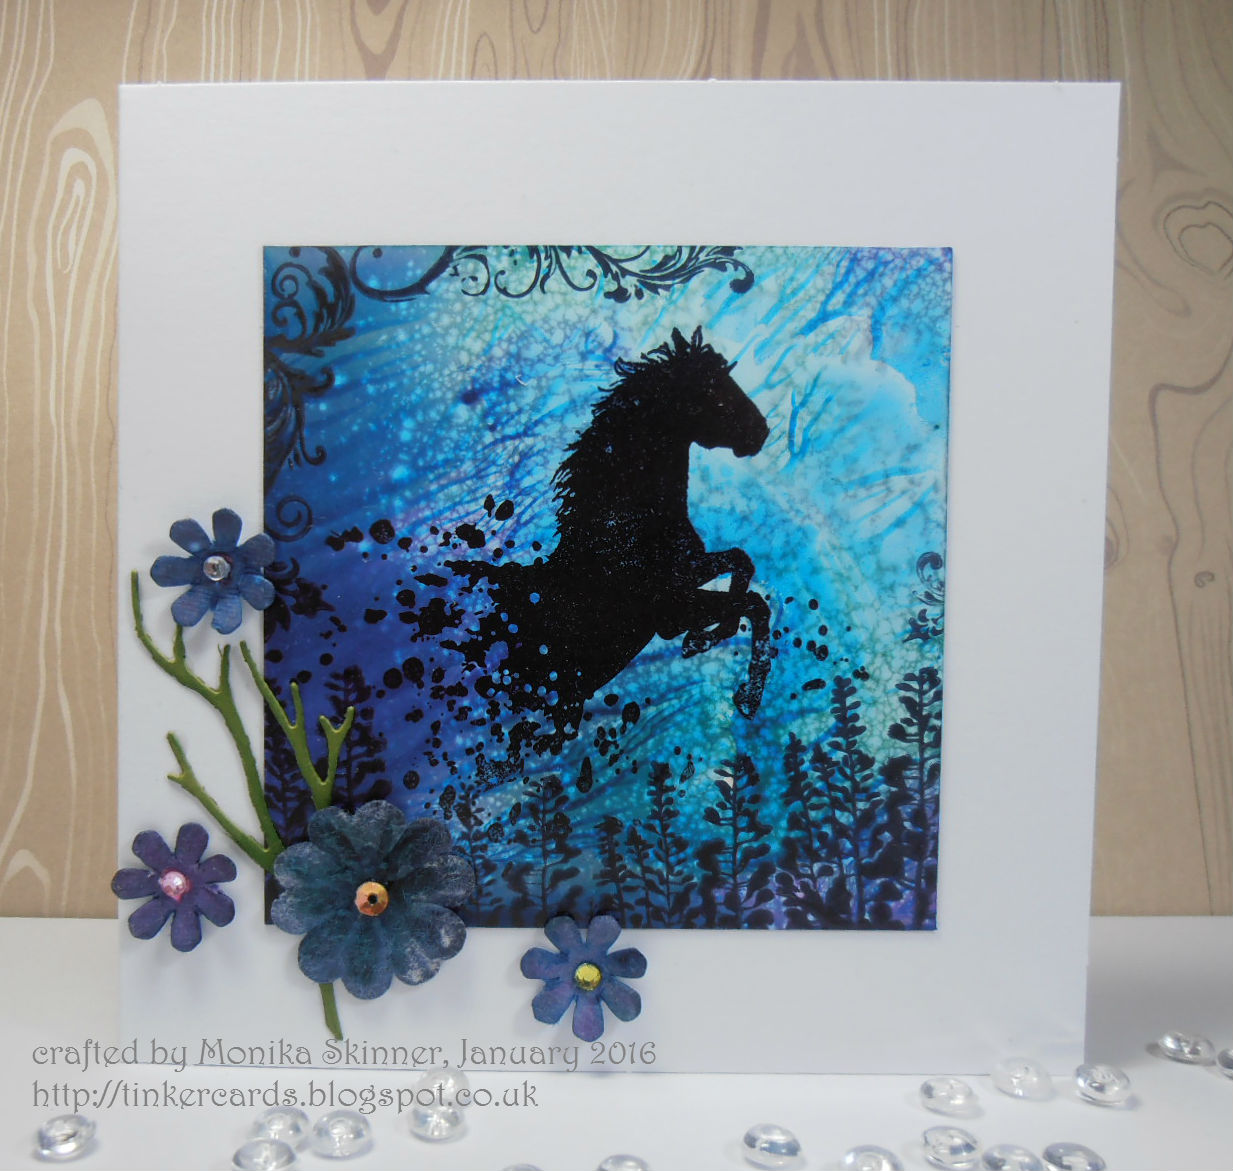
... where we made a background using alcohol inks, for the stamping I used my own stamps. The horse is from the Revolution set by Visible Image, not sure about the flourish and flower stamps.
Next us is a box with notelets I made ...

The flower was cut with my Sizzix Eclips before it broke about a year ago. It is still not fixed, but I'm living in hope. To create the box I used anew toy of mine, my 1-2-3 Punch Board by We R Memory Keepers to which I upgraded from my envelope punch board before Christmas.
Here is another box I made for notelets ....

... using a circle with heart border die cut (Sue Wilson) and some butterflies (Sizzix/Stampin'Up!).
Now last, but not least ... my crafting space where I make my projects, record my videos and write my blog posts ....

As you can see, it is quite a small desk which has to take my laptop too and the webcam, conveniently fitted to the shelf above.

Most of my stash lives in this shelving unit and cupboard, some papers and thin cutting dies in the little unit below...

... whilst some of my stamps, punches, inks, embossing powders live in this corner here ...

... the massage table conveniently converts into additional work space for my guillotine, gelli plate etc when not in use for its intended purpose. Envelopes and finished cards can easily be stored underneath in boxes too.

... and as this is a multi functional room, this is what it looks like when I'm not allowed to craft ... when guests have taken over my inner sanctum ...

That's it from me for now. Have a lovely weekend!
hugs
Monika xxx
Here is what I used from STAMPlorations, links are in the above text


